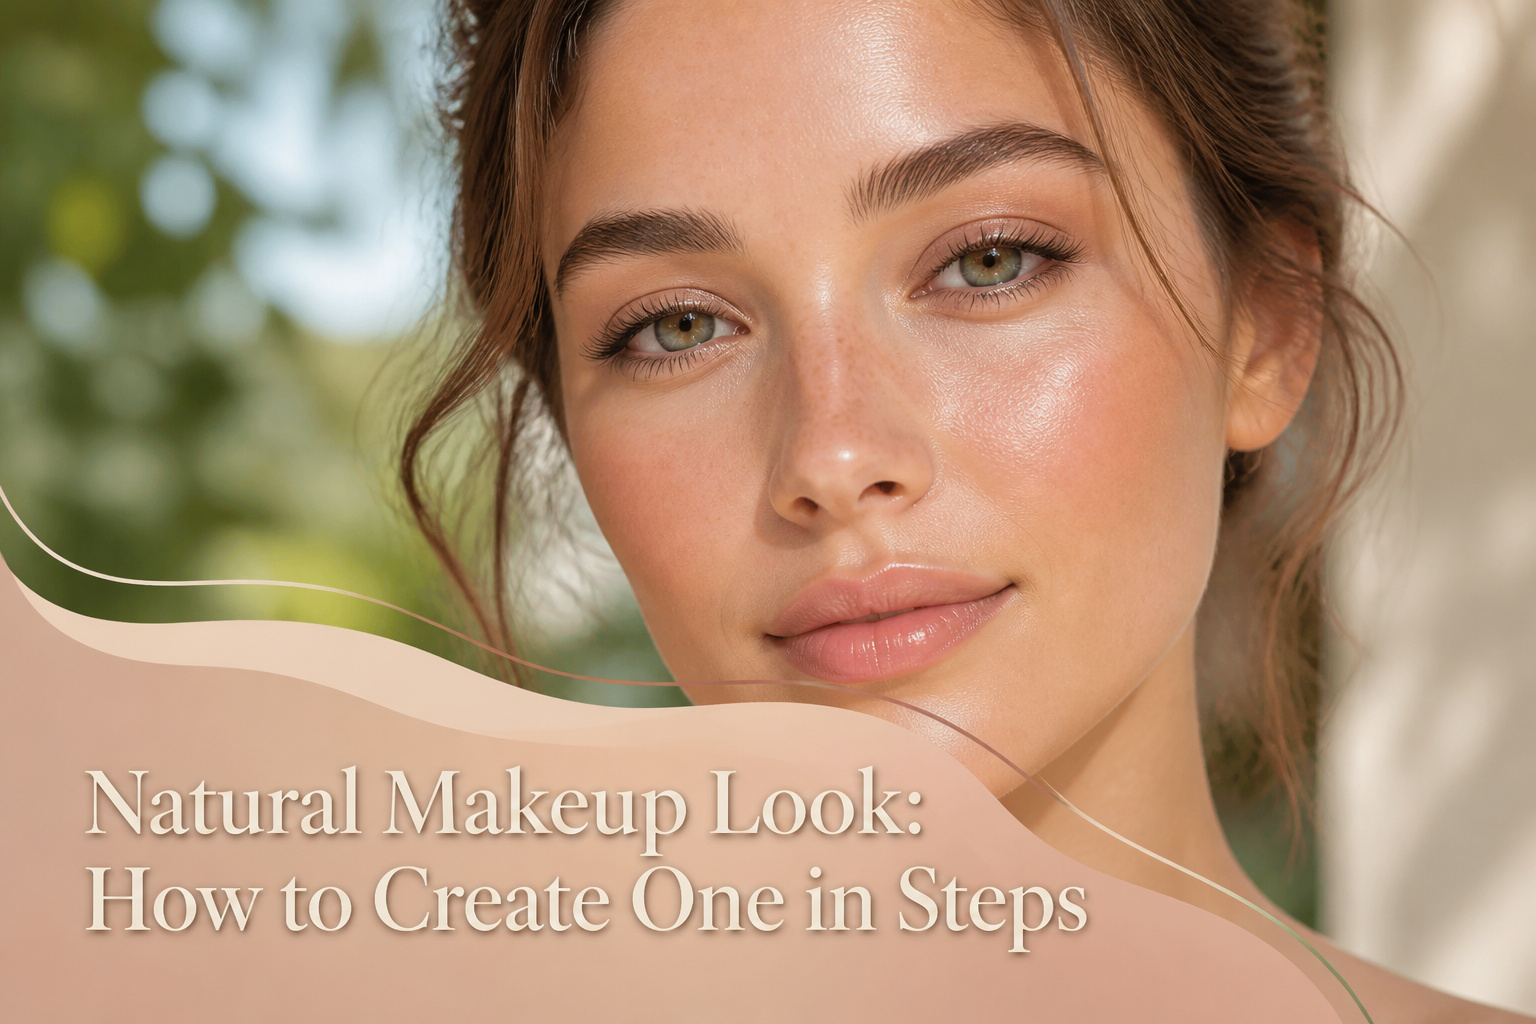
A makeup natural look is skin that still looks like skin, not makeup that hides it. The catch is that sheer coverage and dewy finishes only work if the base is genuinely hydrated; skip the prep and foundation catches on flakes by noon. Patrick Ta’s pressing method, using fingertips instead of rubbing, keeps moisturizer from pooling in fine lines and buys the smoothness everything else builds on.
1. Prep Your Skin
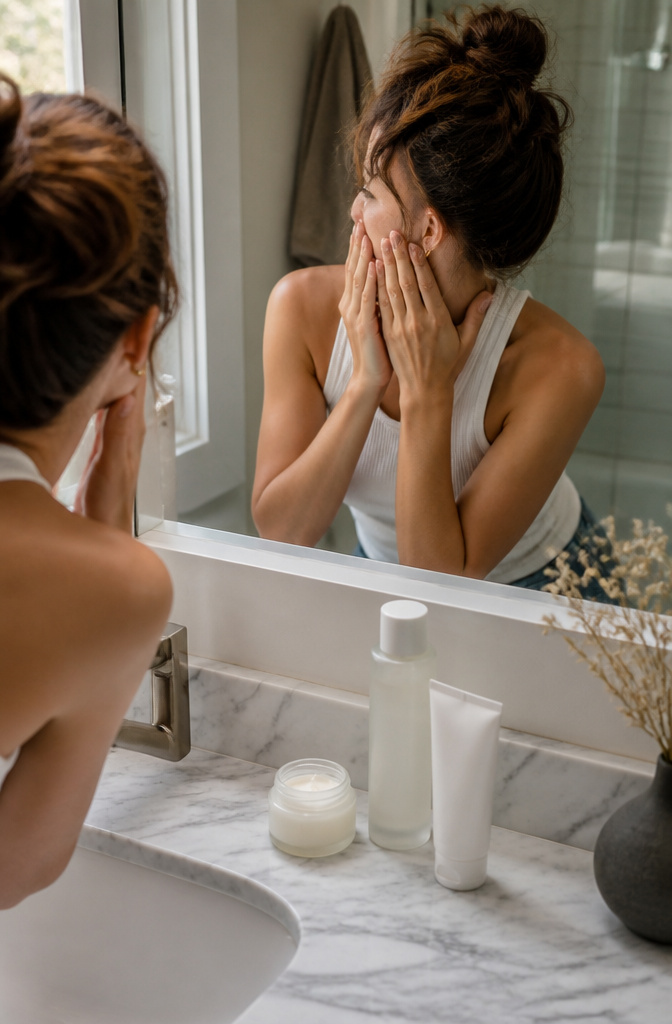
A makeup natural look falls apart on dry skin, so the base matters more than the base makeup. I start with cleanser, toner, and moisturizer in that order; anything less and foundation catches on flakes by noon. Patrick Ta’s method of pressing moisturizer in with fingertips instead of rubbing keeps the product from pooling in fine lines, and after trying both ways I have to agree the pressing motion wins for smoothness.
SPF 30 minimum is the threshold that actually blocks the UVA rays responsible for most premature aging, even through winter clouds. A lightweight moisturizer with built-in SPF saves a step, though a separate sunscreen works if the texture plays nice with what comes after. The dewier finish comes from skin that is genuinely hydrated, not from skipping this step to get there faster.
2. Apply Primer
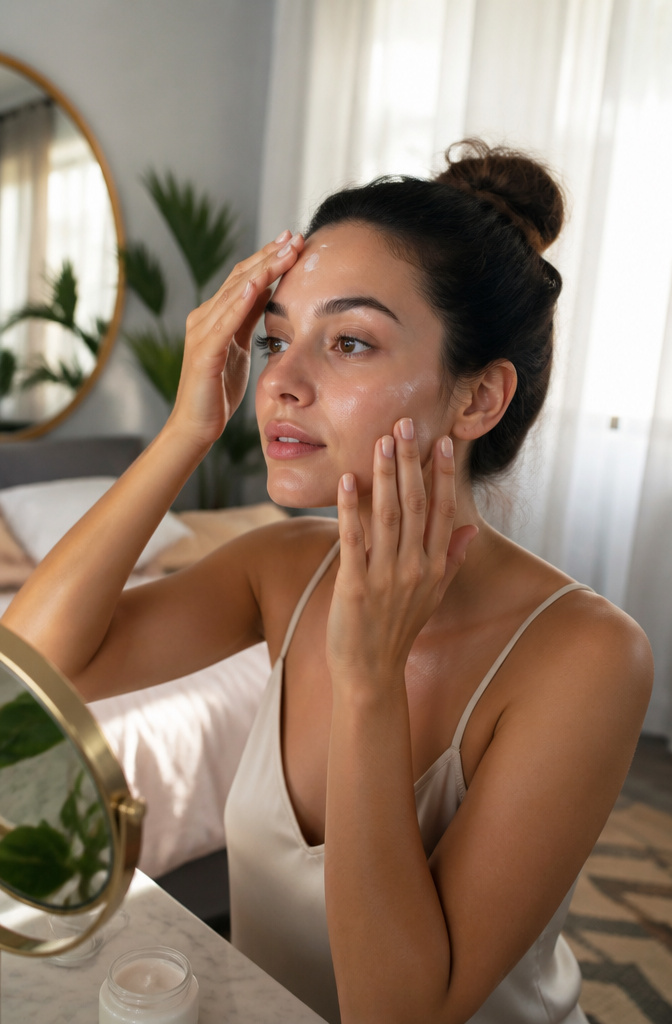
A hydrating or luminous primer is the layer that makes every step above it believable. Heavy silicone formulas sit on top of the skin and flatten whatever glow you’re working to preserve, so a thin, serum-like texture wins here. I warm a pea-sized amount between my fingertips and press it across my forehead, cheeks, nose, and chin, then sweep whatever remains across my eyelids so shadow holds without creasing through the day.
The real job of this step is grip. Primer creates a slightly tacky surface that keeps the lightweight layers ahead from sliding or disappearing by noon. Without it, you end up adding more foundation than you intended just to get something to stay put, and that extra coverage is what flips the look from skin to mask. A luminous base also refracts light softly through whatever goes on next, so even a barely-there layer of tinted moisturizer reads as actual radiance rather than residue.
3. Use Lightweight Foundation or Tinted Moisturizer
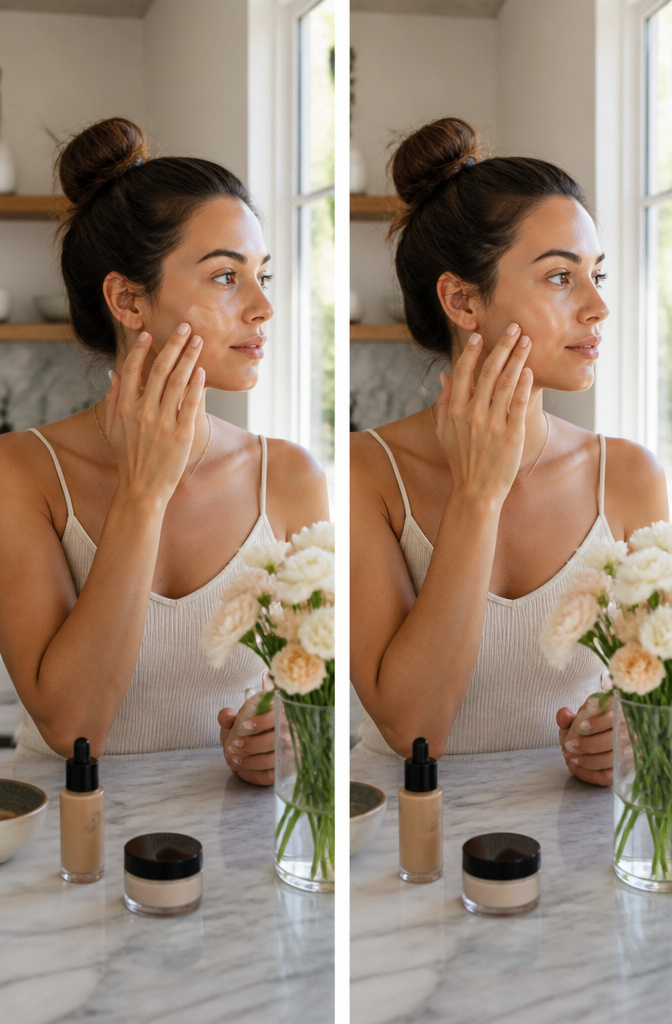
The real mistake with base coverage is treating "natural" like it means invisible. It doesn’t. It means the skin still looks like skin.
A sheer layer is the move here, and fingers do the work better than any tool. Warm the product between them first, then press it in rather than rubbing. Urban Decay’s Hydromaniac Tinted Glow Hydrator builds to medium coverage if you need more in spots, but the first pass should be just enough to even things out. The marula oil and kombucha filtrate in it do the hydration work so you’re not layering separate products.
Trinny London’s BFF De-Stress Tinted Serum works the same way: start thin, add where you need it. The serum texture means it sinks in fast, which matters if you’re doing this in actual morning light and not under a vanity mirror. Both formulas sit on the right side of that line where coverage meets candor. You want to see a little texture, a little tone variation. That’s what reads as real.
4. Conceal Sparingly
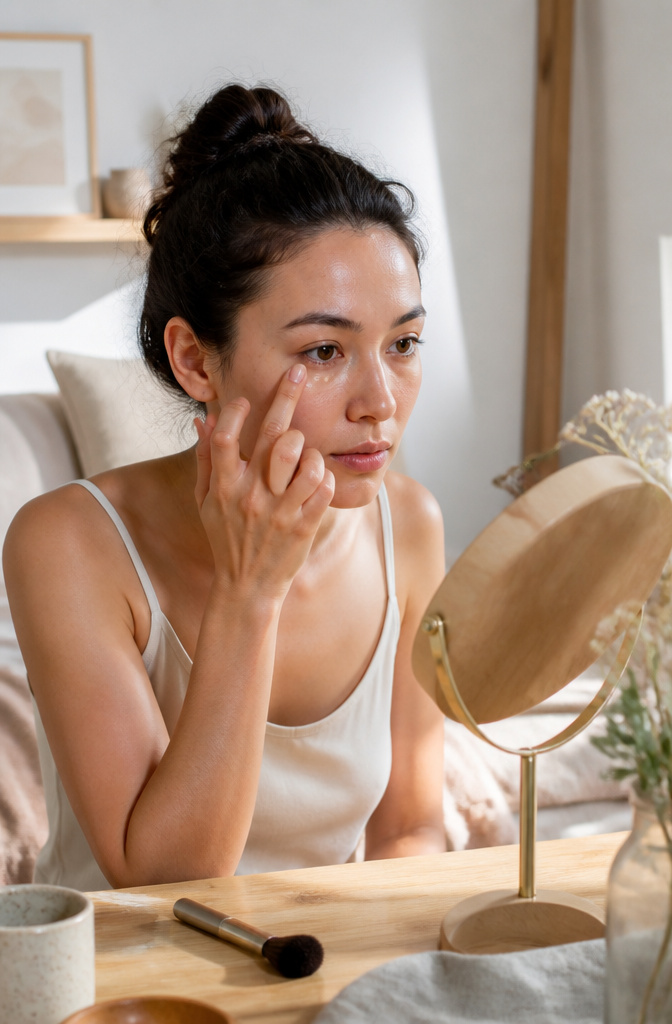
The fastest way to undo a makeup natural look is a concealer halo that catches the light wrong. A shade that matches your skin exactly, not one lighter, keeps the correction invisible. I press a tiny dot onto the spot with a fingertip, let it sit for ten seconds so the pigment grips, then tap the edges until nothing shows but smoother tone. The skin tint I already have on handles general evening; concealer only visits where something still reads as shadow or color. Two places max for most mornings. The brands I keep seeing recommended for this step offer twenty shades or more, which matters because "close enough" under the eye reads as gray by noon. Layering foundation over concealer is the backward move; it builds thickness where the skin is already asking for less. Bare skin has variation, and that variation is what reads as real.
5. Add Cream Blush
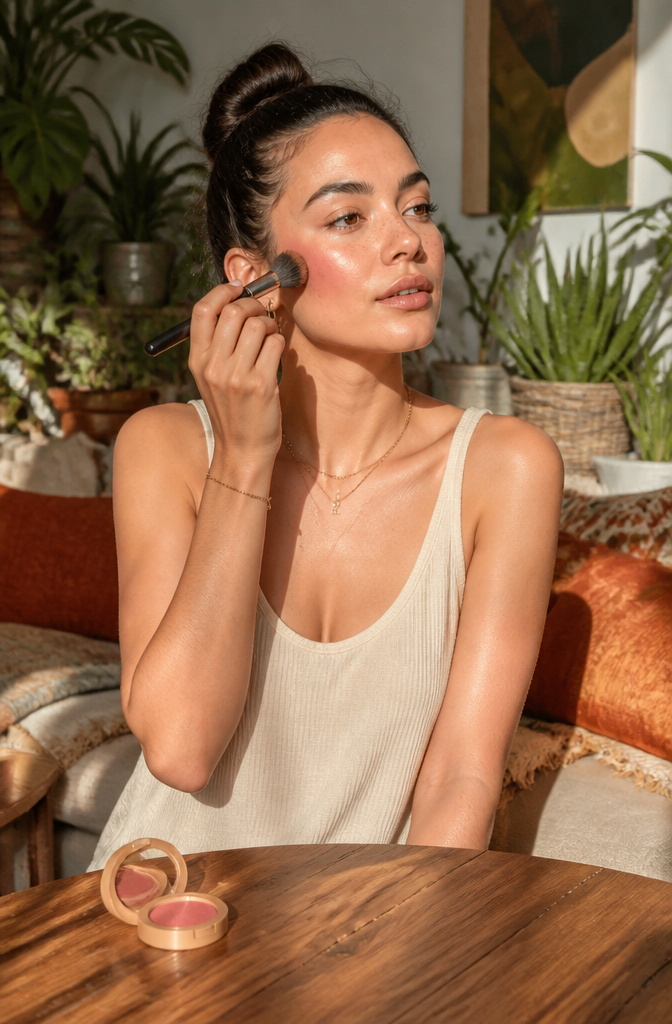
Cream blush sits on skin the way actual blood sits under it, which is exactly the point of a makeup natural look. Powder can read as dust sitting on top; cream melts in, especially over the tinted moisturizer or cream foundation you have on already. The Major Headlines Double-Take Crème & Powder Blush Duo gives you both formulas in one compact, but I reach for the cream side almost every time.
Stamp it onto the apples of your cheeks with a dense blush brush, not a sweeping motion. Stopping the streak before it starts is the whole trick. Press, lift, repeat. The color lands even and looks like it came from a brisk walk, not a makeup bag. If you overdo it, the damp sponge you used earlier sheers it back without starting over.
Twenty-one shades in that duo, so the match is there. The powder half stays useful for setting or for days when you need more grip, but cream is what reads as skin first.
6. Define Brows
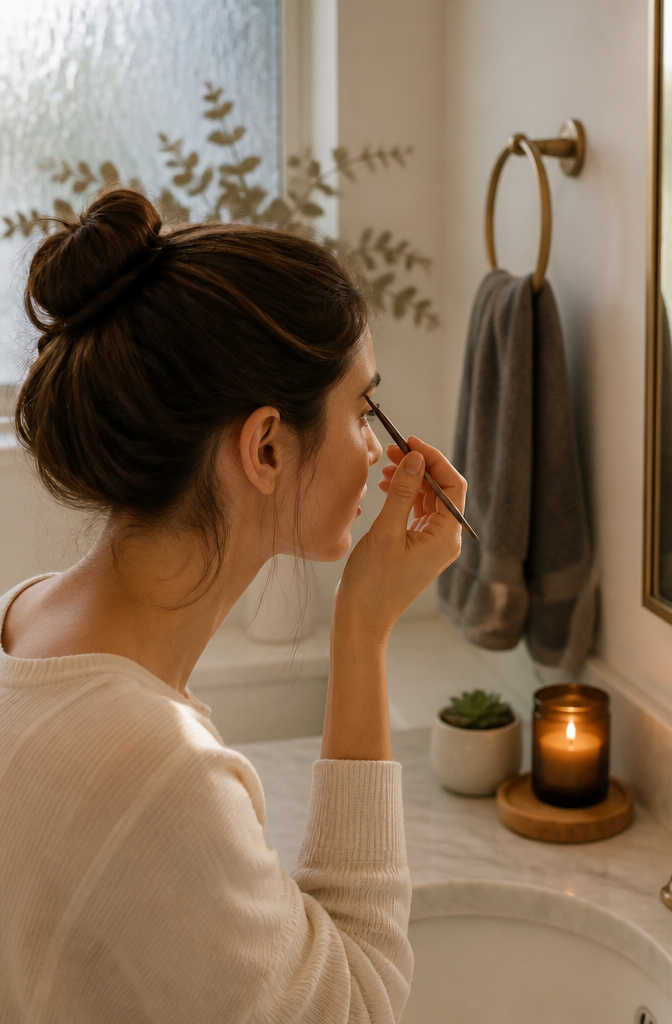
Brows frame the face, and a makeup natural look depends on keeping them believable rather than architectural. The difference between reshaping and reinforcing is the whole game. Reshaping draws new boundaries, new arches, new geometry that sits on top of your face and announces itself. Reinforcing means flicking a brow pencil through sparse patches with hair-like strokes that mimic what is already growing, filling gaps without inventing new territory.
A brow pomade in a shade that matches your natural color glides on to fix hairs softly into place, and the clear option works when you barely need pigment at all. The goal is soft arch, no harsh lines, nothing that reads as drawn. Sparse areas get the pencil. Unruly growth gets the pomade. Two tools, two jobs, and neither one should leave a stranger guessing where your real brows end and the product begins.
7. Apply Neutral Eyeshadow
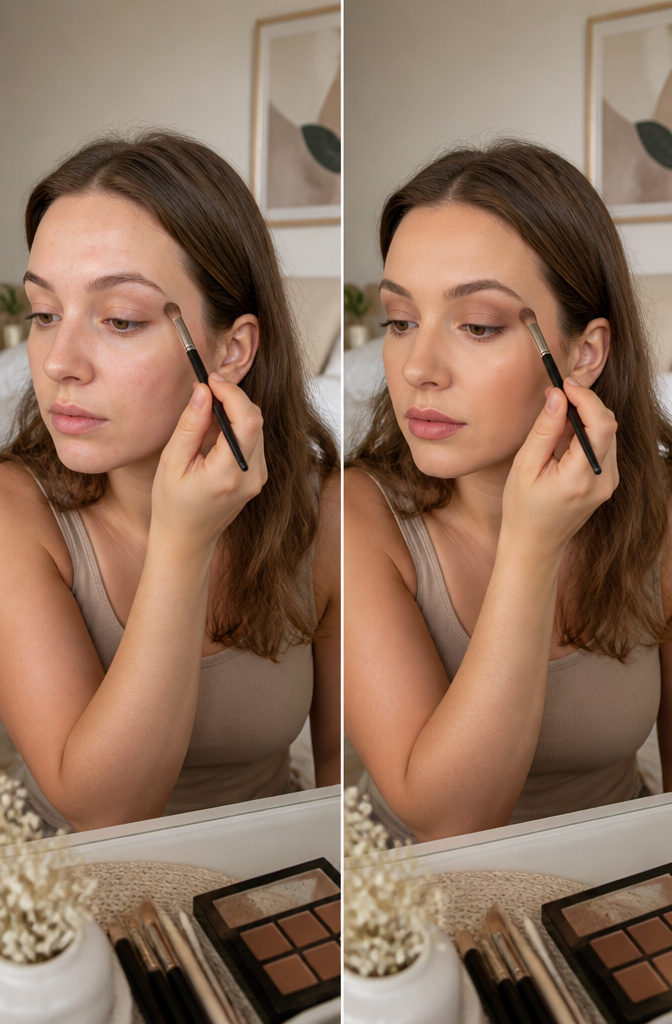
Soft, neutral shades keep the eye area looking like itself, just a little more defined. A matte taupe or warm beige swept across the lid with a fluffy brush builds subtle depth without catching light the way shimmer does, which is usually what reads as "done up" in daylight. I press the color into the crease with a windshield-wiper motion, then use whatever remains on the brush to soften the edge toward the brow bone so there is no visible line where shadow stops and skin begins.
The lower lash line needs only a whisper of the same shade, applied with a small dome brush and blended outward. Skip the dark liner entirely here; even a soft brown pencil can close in the eye and break the illusion that you are wearing almost nothing. If the lids look patchy after blending, a fingertip tapped lightly over the area usually presses the pigment into place better than another layer of brushwork.
8. Enhance Lashes
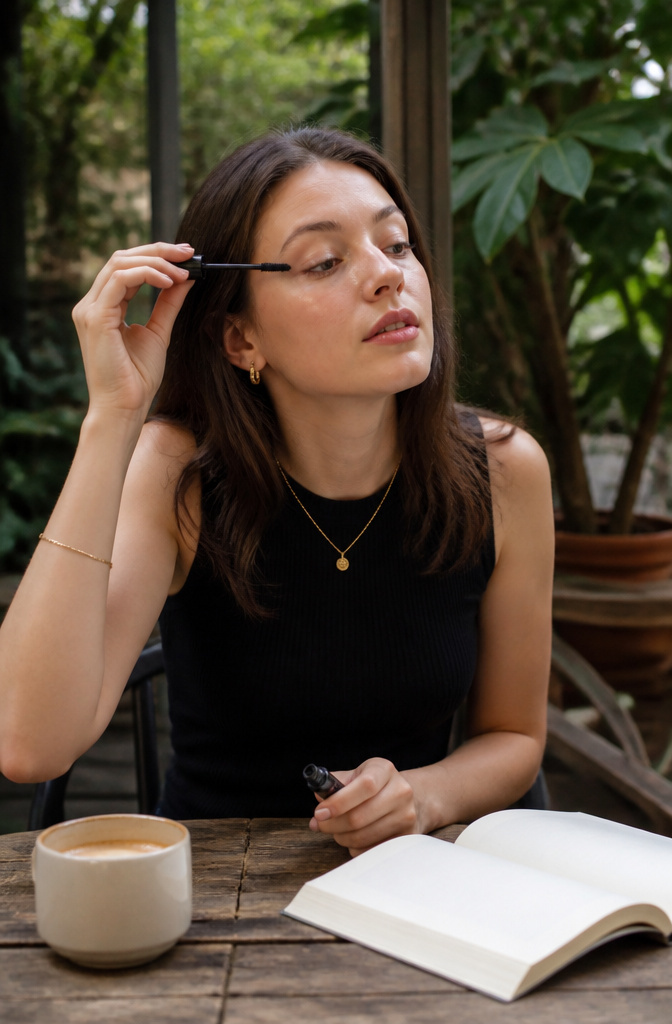
A single coat of mascara makes the difference between defined and done-up. The Body Shop’s Happy Go Lash, built with organic beeswax and coconut oil, gives thickness without the fade or flake that sends you reaching for remover by noon. One pass, not three, keeps lashes separated rather than spiky.
Evening looks stack on length and volume until the fringe almost touches the brow bone. For a makeup natural look, the goal is the opposite: color that darkens what you already have rather than building a new shape entirely. Clear gel works if your lashes hold a curl on their own; pigment adds the definition that bare lashes lose in daylight.
A tubing formula like the Total Lash Serum Mascara wraps each lash individually and slides off clean, which matters more than it sounds when you’re trying to keep the rest of your face untouched. No breakage, no raccoon residue, no second round of concealer.
9. Finish with a Sheer Lip Product
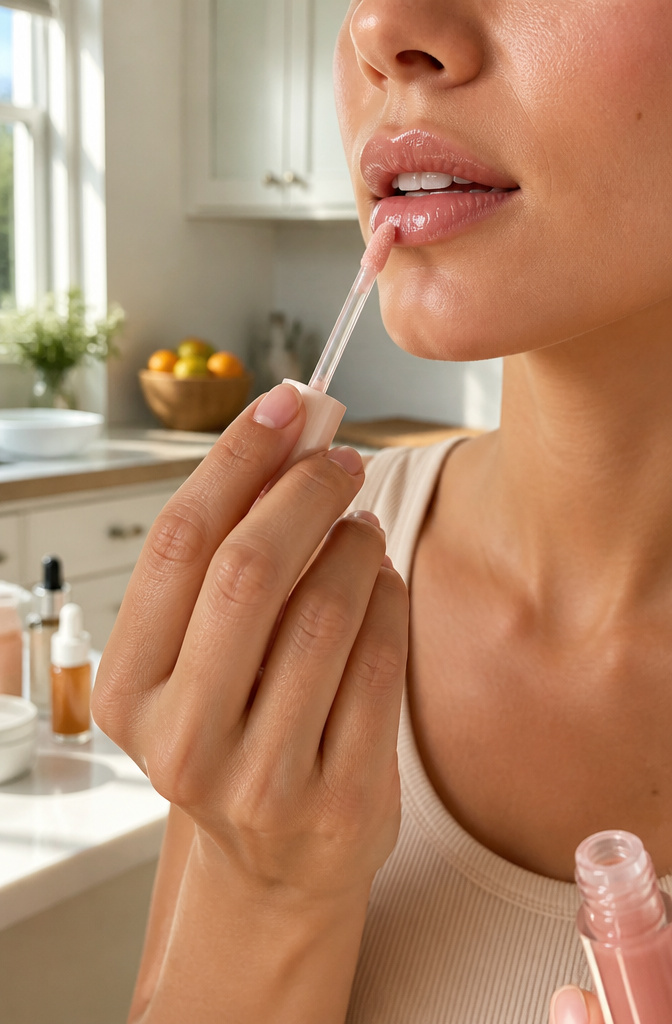
Lips are where a natural look dies or survives. The second the color goes opaque or the line goes sharp, the whole face reads as dressed-up, and that defeats the point.
I start with balm and let it sink in for a minute. Dry patches grab gloss unevenly, and that texture shows up more in daylight than you’d think. Then I reach for something sheer, a nude pink or soft peach, and press it to the center of my lower lip only. Pressing my lips together spreads the color outward, so the saturation stays where lips are naturally fullest and fades toward the edge. The result is dimensional, not outlined.
The goal is that no single feature steps forward. A sheer finish keeps the mouth in balance with the skin and the eyes, which is exactly what a makeup natural look is supposed to do. A tint works too if you want a touch more color, just blend it out with a finger rather than applying it straight from the bullet. The less precision, the more believable it reads.
10. Set Your Makeup
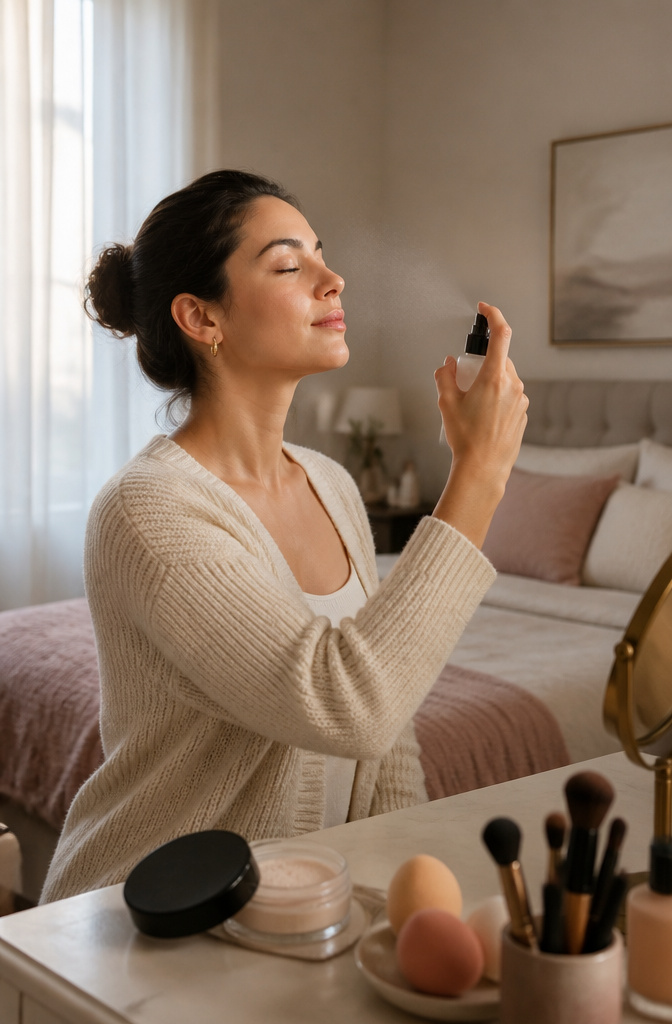
Setting spray is where a makeup natural look lives or dies, and the gap in specific recommendations for natural-finish sprays is real. Most formulas lean matte or dewy extremes, neither of which reads as skin on camera or by 3 p.m.
Sunforgettable Total Protection Face Shield Flex SPF 50 works as a tinted sunscreen with tone-adapting, buildable color from encapsulated iron-oxide pigments that bloom at your fingertips. A thin layer gives lightweight coverage against UVA/UVB, blue light, and pollution; add more only where you need it. The Body Shop’s Skin Defence SPF 50 layered under primer keeps makeup fresh up to 12 hours, and mixing that primer into foundation finishes dewier without separate spray.
For true setting, a fine mist held at arm’s length prevents the pooled-droplet look that betrays effort. I still haven’t found a dedicated natural-finish spray that doesn’t read either flat or greasy by hour four. The SPF hybrids above come closer than most, though neither is marketed primarily as setting spray. If your skin runs oily, skip the added dew and set with a translucent powder pressed lightly through a tissue instead.
What Natural Makeup Means
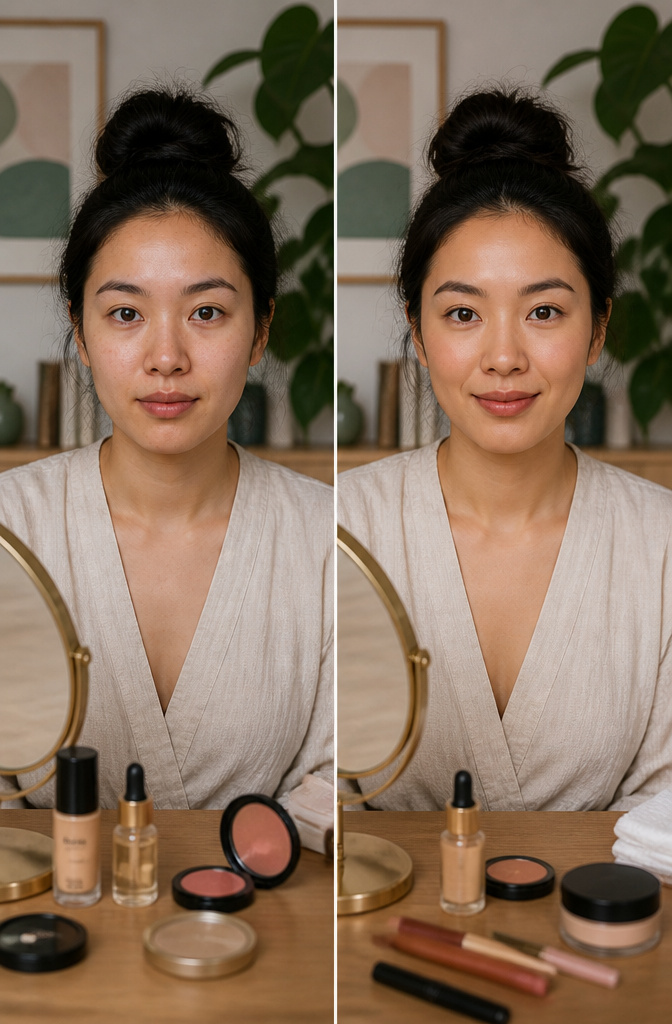
Natural makeup and no-makeup makeup sit close enough on the spectrum that the same product can serve both, but the intention behind each differs. A natural makeup look uses soft color to enhance what is already there: a blush that matches the tone of your actual flush, a lip tint close to your natural shade, a base that blends at the jawline into nothing. The result reads as you, but brighter. No-makeup makeup pushes further toward invisibility. Its goal is bare-skin appearance, the kind where someone studying your face still cannot say for certain whether you are wearing anything at all.
Texture separates the two in practice. Anything heavy or thick will sit on top of the skin and read as mask-like, so lightweight tinted serums with light to medium coverage tend to work best for either approach. Cream-based blushers, bronzers, and highlighters melt in more convincingly than powder. Speed matters too; both styles lend themselves to finger-applied products that do not demand twenty minutes and twelve brushes. The real choice is whether you want someone to notice the enhancement or to miss it entirely.
Cream Versus Powder
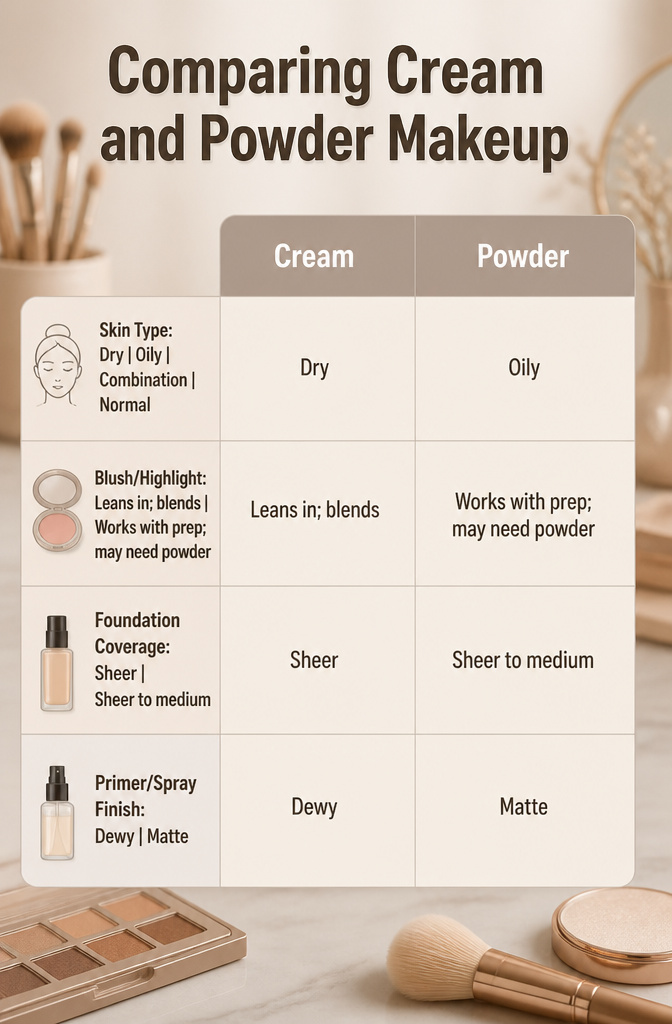
Cream formulas melt into skin in a way powders rarely manage. Patrick Ta’s Major Headlines Double-Take Crème & Powder Blush Duo pairs both textures, but the cream side is what stamps on with a dense brush and leaves a flush that looks like it comes from within. The Body Shop notes the same: cream and liquid formulas carry a sheen that reads as more natural than matte or powder finishes. For highlighter, a damp sponge sheers cream down to a lit-from-within sheen rather than a glitter stripe.
For foundation, sheer coverage wins over medium if the goal is skin that still looks like skin. Primers and setting sprays split between dewy and matte: dewy amplifies that glass-skin radiance, while matte controls oil where cream products might otherwise slide.
| Skin type | Cream blush/highlighter | Foundation coverage | Primer/setting spray finish |
|---|---|---|---|
| Dry | Leans in; blends seamlessly over tinted moisturizer | Sheer | Dewy |
| Oily | Works with prep; may need powder to set | Sheer to medium | Matte |
| Combination | Cream on cheeks, powder perimeter if needed | Sheer | Dewy with matte on T-zone |
| Normal | Either texture | Sheer for true natural look | Either |
Sheer coverage and dewy finishes are the pairing that reads as bare skin, not bare-minimum makeup. The mistake is building medium coverage and then adding dewy layers on top; the result looks like product sitting on product rather than skin enhanced.
Making It Last
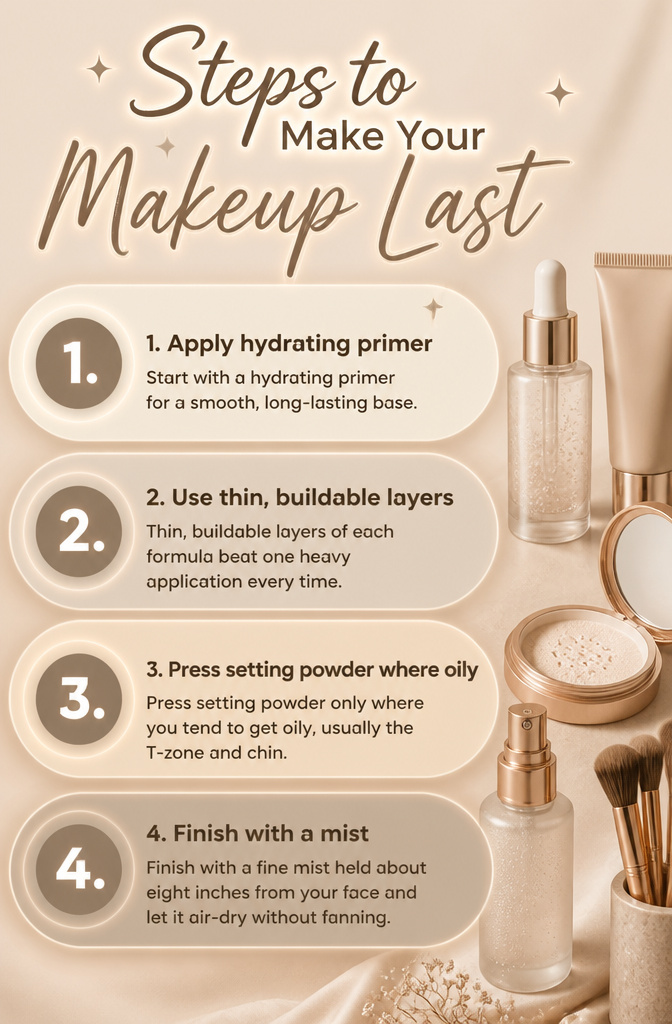
A hydrating primer is the first real decision that decides whether your makeup natural look makes it past lunch. Patrick Ta’s team presses for something with a thin, serum-like texture rather than heavy silicone, which can flatten the glow you just spent ten steps building. Warm that pea-sized amount between your fingertips and press it across the forehead, cheeks, nose, chin, and eyelids so shadow holds without creasing.
Thin, buildable layers of each formula beat one heavy application every time. Press setting powder only where you tend to get oily, usually the T-zone and chin. Then finish with a fine mist held about eight inches from your face and let it air-dry without fanning.
The day-to-night shift is simpler than it sounds. Layer a deeper blush over what is already there, add a slightly darker shadow to the outer crease, and blend into the existing wash. A second coat of mascara focused on the outer lashes builds subtle drama. Swap the gloss for a tinted lip color one or two shades richer. The whole transition takes under two minutes and never looks like you started over.
Frequently Asked Questions
How can you make natural makeup last all day?
Start with a hydrating primer that grips base products to the skin, then use thin, buildable layers of each formula rather than one heavy application. Press setting powder only on oily areas like the T-zone and chin, and finish with a fine mist held about eight inches from your face. Let it air-dry without fanning.
What is the difference between natural makeup and no-makeup makeup?
Natural makeup uses soft color on the cheeks, eyes, and lips to enhance your features while still looking polished and brighter. No-makeup makeup aims for a bare-skin appearance entirely, relying on sheer coverage and skipping visible color so someone studying your face cannot say for certain whether you are wearing anything at all.
Can natural makeup work on oily skin?
Yes, but choose oil-free, lightweight formulas and set your base where you shine most. A mattifying primer across the T-zone keeps the look fresh without flattening the dewy finish everywhere else, and you may need a light dusting of powder on top of cream products to extend wear.