1. Single Color Wash
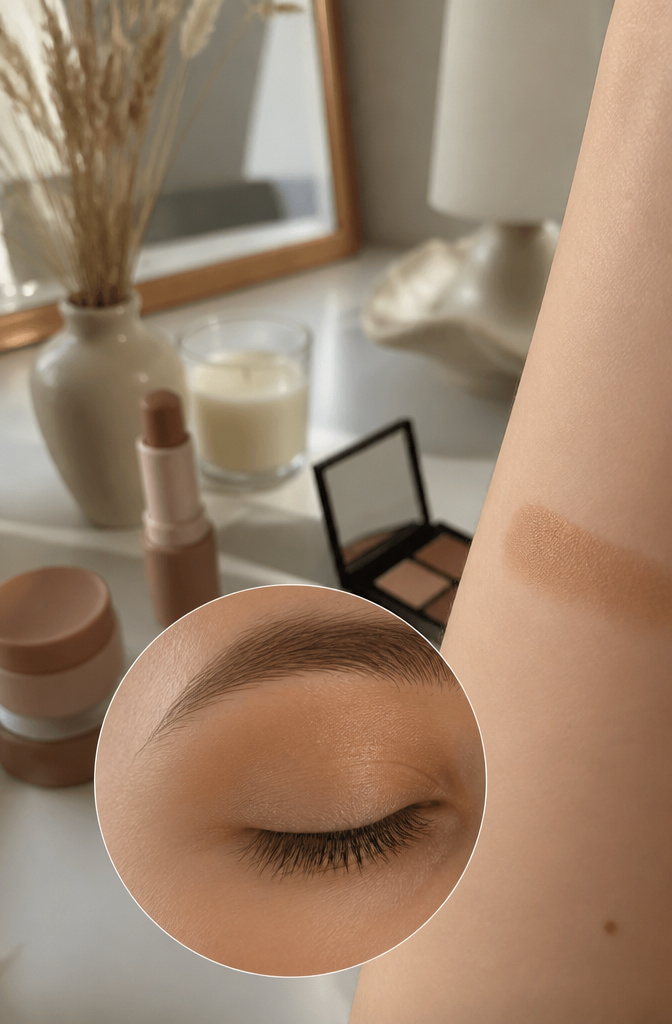
A single color washed across the entire lid is the fastest way to look like you did something deliberate. I started here because there is nowhere to hide: no crease shade to blend, no outer-V to darken, just one tone from lash line to brow bone. That constraint is what makes it work. Matte shadows blend easier than shimmers, which tend to grab and streak if your base is not perfect, so a flat, tone-on-tone matte in a shade close to your skin is the safest first purchase.
Cream sticks blend out with the least trouble. You can swipe them straight from the bullet and tap with a finger, or use a flat brush if you prefer not to touch your face. Merit makes one that makeup artists reach for; Ilia’s long-wear sticks come in neutrals and pastels if you want color without commitment. Pressed powders like Jones Road’s pot need a fluffy blender, Chanel’s N°200 for instance, but the motion is the same: lay it down, buff the edge, walk away.
"There is something so striking about a single color wash all over the lid. It’s timeless, elegant, and ageless, and it requires minimal skills to execute, making it a perfect look year-round."
— Vogue
The "minimal skills" part is what matters. One color means no decisions about where one shade ends and another begins, which is where most morning attempts fall apart.
2. Cream Blush as Eyeshadow
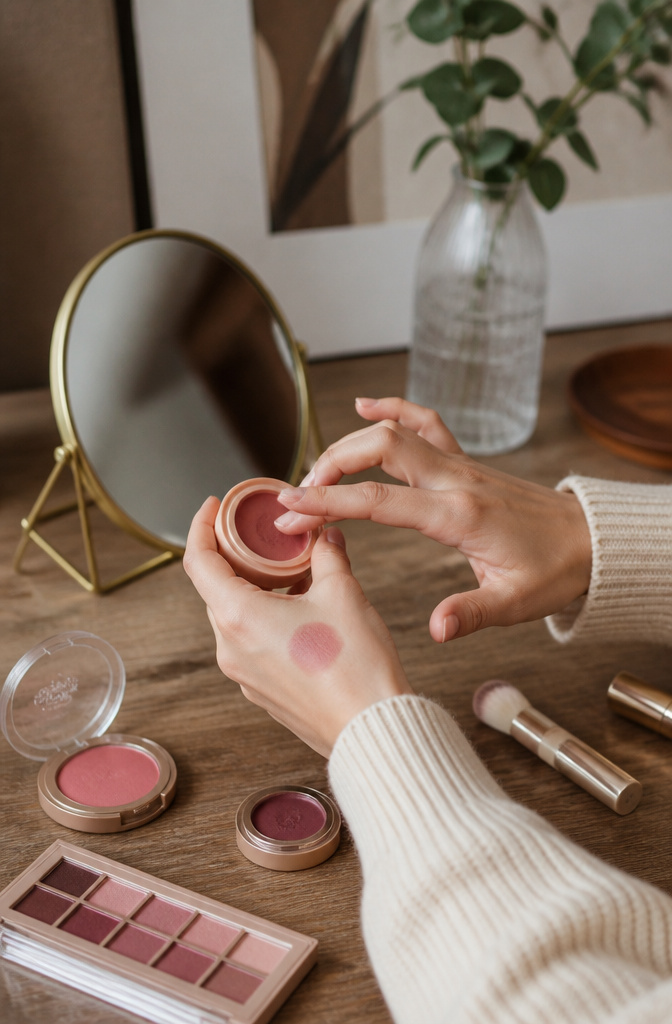
Cream blush was never meant to stay below the cheekbone, and that is exactly why it works. A warm-toned pink like Refy’s Cream Blush in Malaya, tapped across lids with a finger, makes blue or green eyes read brighter without adding a second product to the morning. The same flush on cheeks and eyes reads intentional rather than unfinished, and the color stays where you put it because the finger presses instead of dragging.
Bronzer pulls the same trick with a different mood. Sweeping it on with a brush deposits too much and leaves loose pigment to crease by noon. Tapping with a finger builds the warmth gradually and bonds the cream to the lid, so the unified tone lasts without a separate shadow step. Westman Atelier’s Baby Cheeks Blush Stick in Chouchette was designed for exactly this kind of rule-breaking, small enough to replace three products in a bag that needs to stay light.
The cohesion is the point. One color family from lash line to temple erases the hard edge where eye makeup typically stops and skin begins, which reads as makeup minimalism even when you spent the full five minutes.
3. Subtle Smoky Eye
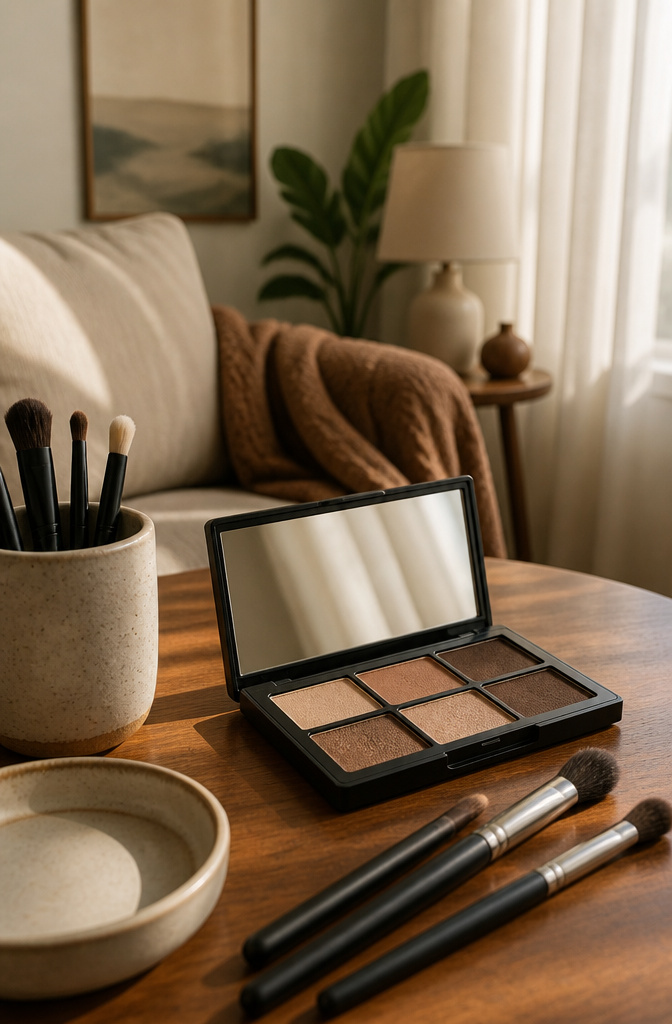
A soft smoky eye lives or dies on how far you blend the darker shade, not how dark you go. The sources that stuck with me all converged on brown rather than black, and after trying to map the versions onto actual mornings, the two-color method won for speed.
Start with a light matte base swept across the entire lid. Then pick a single mid-tone brown, matte again, and work it into the crease with a blending brush. The same shade goes along the lower lash line, but lightly, and the brush does the work: back and forth in the socket until any hard edge disappears. That motion, repeated a few more times than feels necessary, is what keeps the look in the "subtle" territory instead of letting it slip toward drama.
Some versions add a third step, a cool grey along the outer lash line or a shimmer in the inner corner. The two-color version skips both and still reads finished, which matters on days when "minutes" really means five. A palette like MAC’s Amber Times Nine or NYX’s Warm Neutral gives you room to find the exact brown that matches your depth without buying single pans.
4. Matte Lids
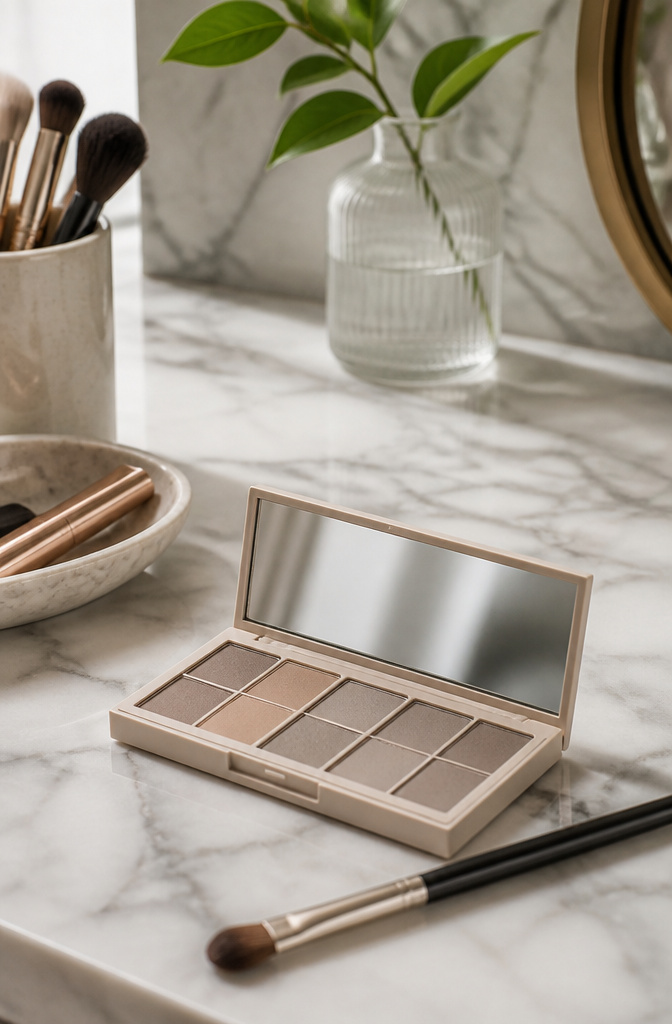
Matte eyeshadow reads as intentional the moment it lands, not like you forgot to finish the look. The finish sits flat against skin, so there is nowhere for uneven blending to hide, yet that same flatness makes it easier to blend than shimmer, which catches light at every edge and betrays a rushed hand. I reach for mattes on mornings when I need to look pulled-together by 8:15 and do not want to think about whether my lid is catching the office fluorescents wrong.
A wash of cool-toned matte just lighter than your skin tone keeps the effect modern rather than dated. Skip eyeliner, add mascara, and the whole thing still registers as deliberate: makeup that chose restraint, not makeup that ran out of time. The no-fallout part matters too, especially under eyes that have already seen one too many glitter bombs drop through a conference call. For beginners still learning where their crease actually sits, matte shadow forgives the practice.
5. Glossy Finish
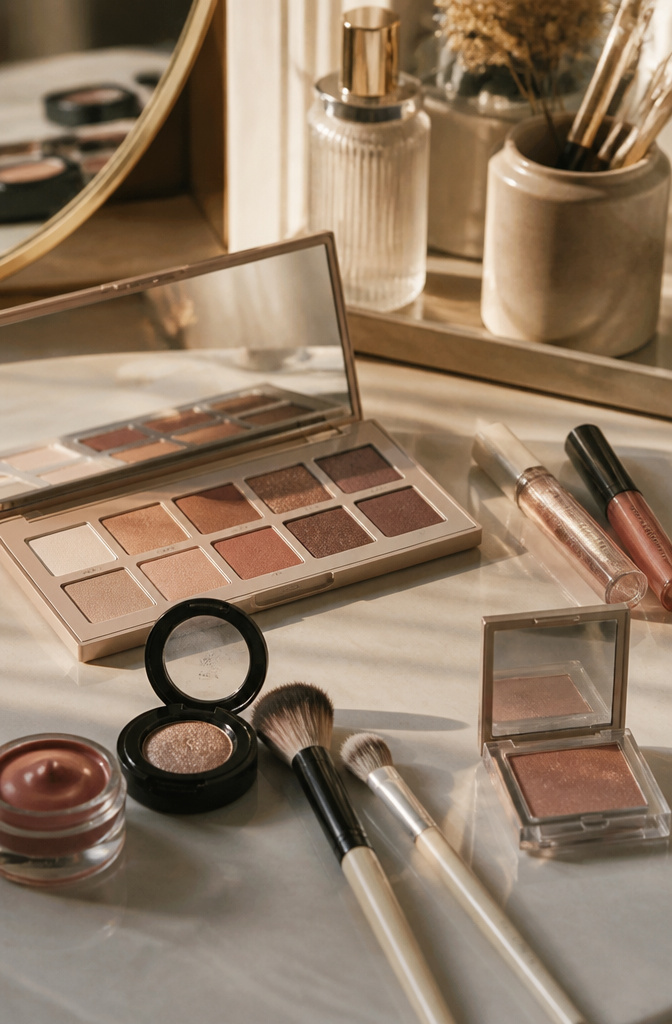
This year, eyeshadow trends have leaned hard into texture over color, and a glossy finish lands right in that shift. The reflective look reads modern without asking you to master a twelve-step cut crease.
Pat the gloss on with a fingertip, not a brush. Brushes streak; warmth from a finger melts the product into something glassy and even. A clear eye gloss worn on bare skin gives the wettest effect, or layer it over a single wash of color for depth that still catches light.
Dedicated glossy shadow sticks exist too, and they save the extra step if you keep makeup minimal. Either way, the finish lasts longest on lids with little or no base underneath. Concealer or foundation underneath breaks the seal; the gloss slides and pools into creases within a couple of hours. Wear it on clean skin, or accept the touch-up.
6. Eyeshadow Liner
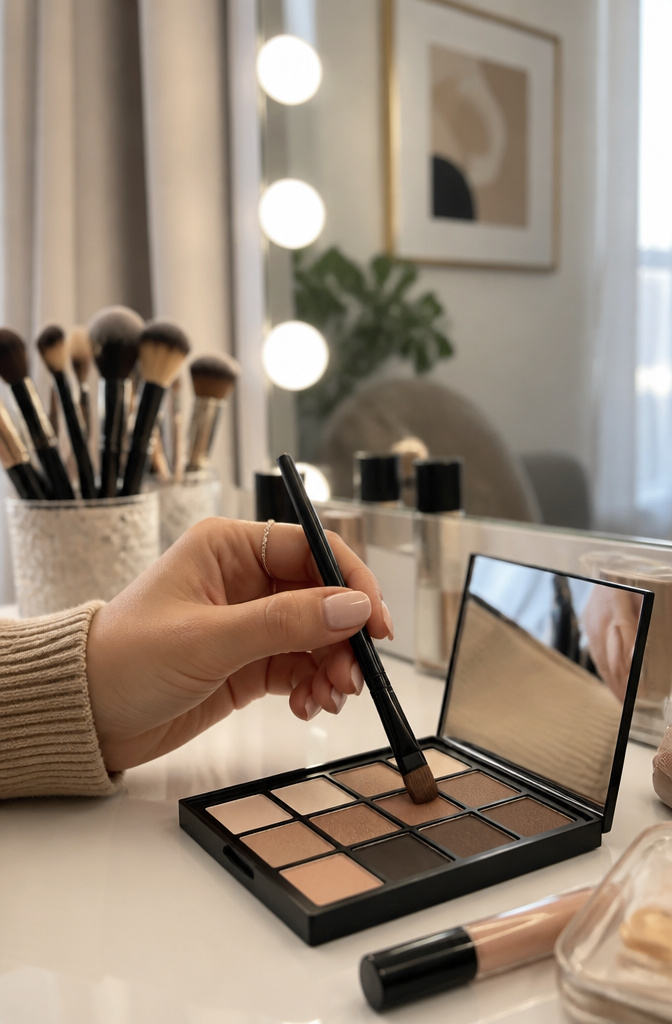
A flat-angled brush turns any dark shadow into a winged line that reads as eyeliner but moves like makeup you can actually fix. The method is press, then flick: load the brush, push the color straight into the upper lash line from the inner corner out, and at the outer edge let the bristles lift off in one quick motion. What you get is a soft, diffused wing rather than a sharp graphic line.
Liquid liner demands commitment. One wrong angle and you are starting over. Shadow stays workable for the extra ten seconds you need to smudge the flick higher or lower until it follows your actual eye shape. For extra hold, some dampen the brush first, though dry application gives a more forgiving, feathered edge. Either way, the pigment sits right at the roots, so the effect stays subtle even when the color is deep.
7. Metallic Shimmer
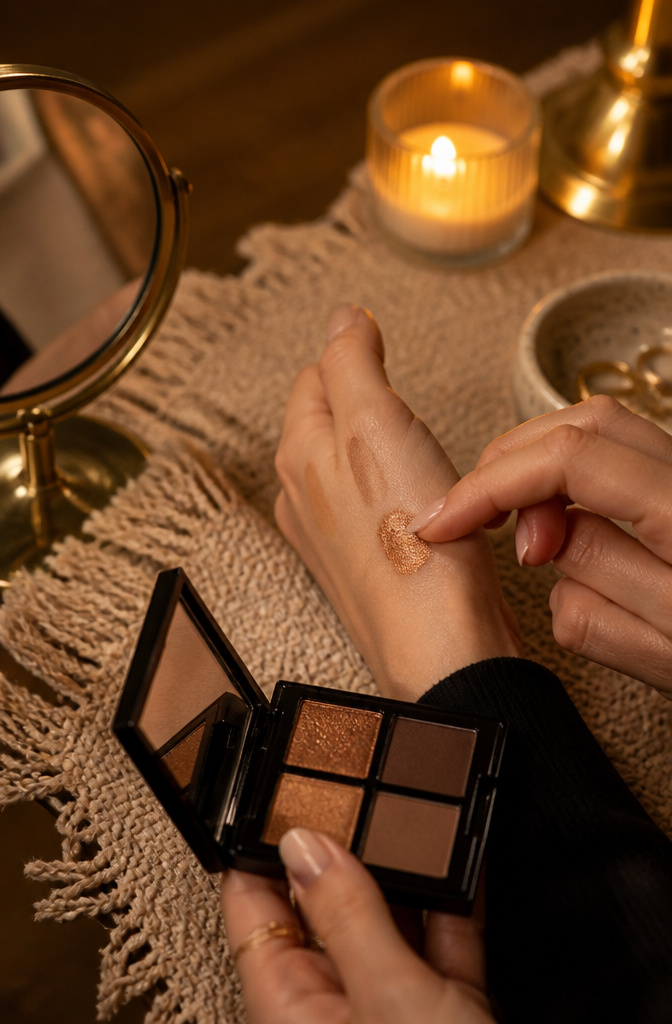
Metallic shadow on a single finger gives the brightest payoff with the least work. The warmth of your skin melts the pigment into the lid so the color stays dense instead of going patchy the way a brush can leave it. I press the pad of my ring finger straight into the pan, tap off the excess on the back of my hand, then pat onto the center of the lid from the lash line up to the crease. That placement alone, with nothing else, reads as intentional in about forty seconds.
For daylight, keeping the shimmer to the center of the lid or the inner corner keeps the look from tipping into costume. The inner corner placement also bounces light forward, which does the same work a separate highlighter would. For evening, sweeping the same shade across the full lid and blending the edge with a clean finger takes roughly the same time as two or three layers of matte shadow need to build to the same depth. One metallic layer replaces building and blending multiple mattes, and the reflective finish hides any minor unevenness that matte would expose.
8. Light and Bright
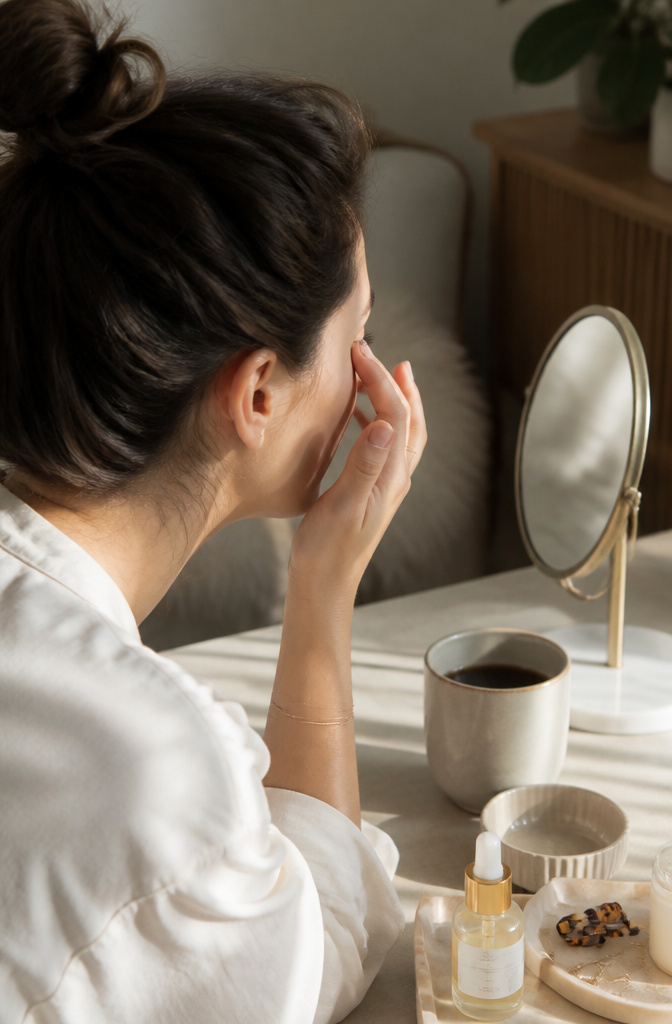
Matte cream shadow swept from lash line to brow bone is the fastest way to look like you made an effort before coffee. The pale tone catches light across the whole lid and up to the arch, which visually raises the eye shape without any contouring tricks. What sold me on this technique was watching it cover the faint purple most of us wake up with along the inner corner; a peach-leaning shade neutralizes it better than concealer alone because the warmth counteracts blue tones.
Placement is forgiving by design. A fluffy brush or a fingertip blends the edges into nothing, and since there’s no darker shade to position precisely, there’s no risk of a half-moon floating above your crease. I reach for this on days when the goal is looking awake, not artistic. The tradeoff is that it photographs a little flat in direct flash, but for office lights and daylight, it reads as fresh skin rather than makeup.
9. Smudged Liner
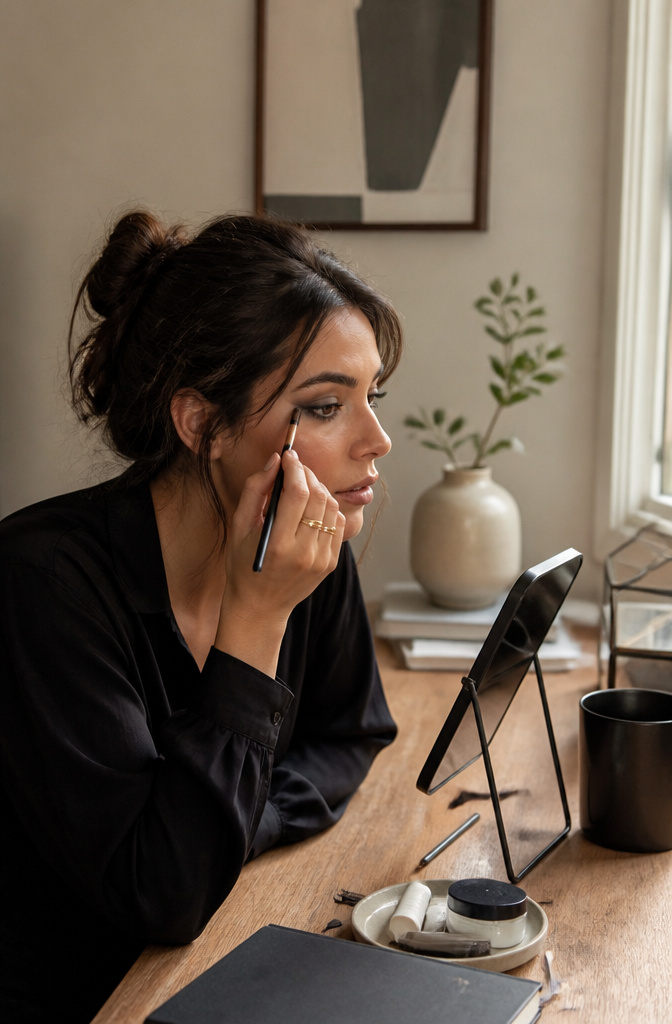
A smudged liner look is the easiest way to turn any dark eyeshadow into something that reads as effort without requiring much. The technique is simple: take a small pencil brush, the kind with short, stiff bristles, and run it along both your upper and lower lash lines with a dark shade you already own. Charcoal, black, brown, even a deep plum if that is what is in your drawer. Then go back with a clean brush and soften the edge so the line is not crisp.
What makes this forgiving is that precision is not the point. A wobbly hand or an uneven line just looks like part of the effect. It works for evenings when you want something smokier, but it is relaxed enough that I have worn it with nothing else on my face and not felt overdressed. The clean brush step is what separates smudged from sloppy; without it, the shadow can read as accidental rather than intentional.
If you own shadow sticks, this gets even faster. A dark shade smudged right up against the lash line with the built-in applicator or your finger, then softened with that same clean brush, takes under a minute.
What Primer and Setting Spray Actually Do
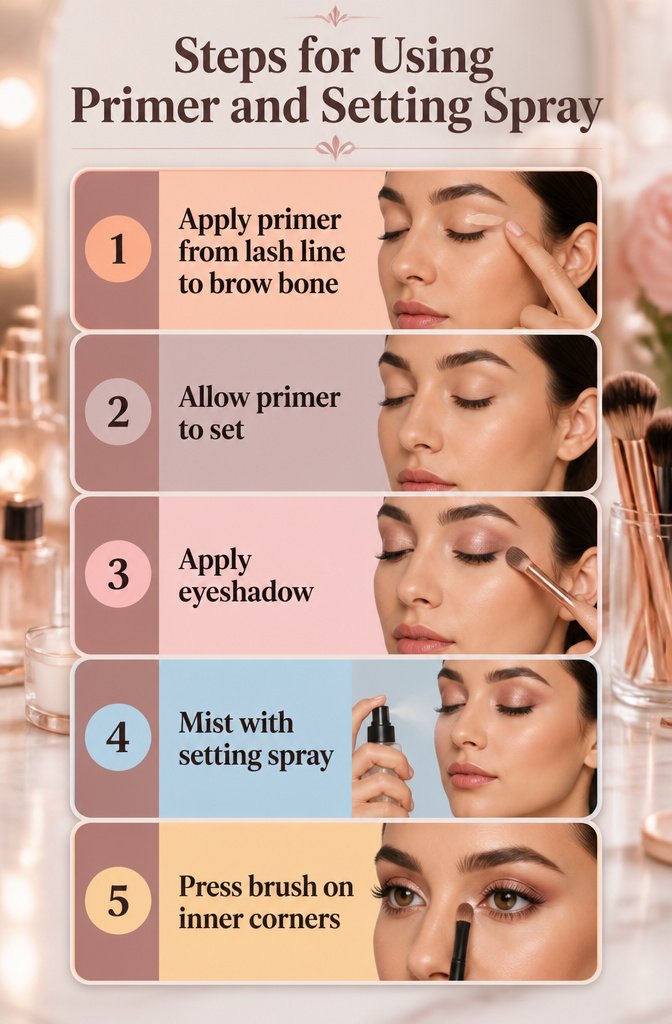
Eyeshadow primer earns its spot in a simple routine for two reasons that matter on real lids. A thin layer blended from lash line to brow bone gives shadow something to grip, which keeps color from sliding off by noon, and it fills in the tiny creases where oil collects so the finish stays smooth instead of breaking into lines. The difference shows up most on oily lids or on days that stretch past dinner, when unprimed shadow has usually turned patchy.
Setting spray works later in the process, after shadow is on but before mascara goes near the lashes. A light mist over the lids locks the finished look in place, and the same spray on a pencil brush pressed along the inner corner and lower lash line sets liner and shadow where rubbing happens most. Any look that needs to hold past the first few hours gets this step; skipping it means re-checking the mirror instead of forgetting it.
Tools That Change the Speed
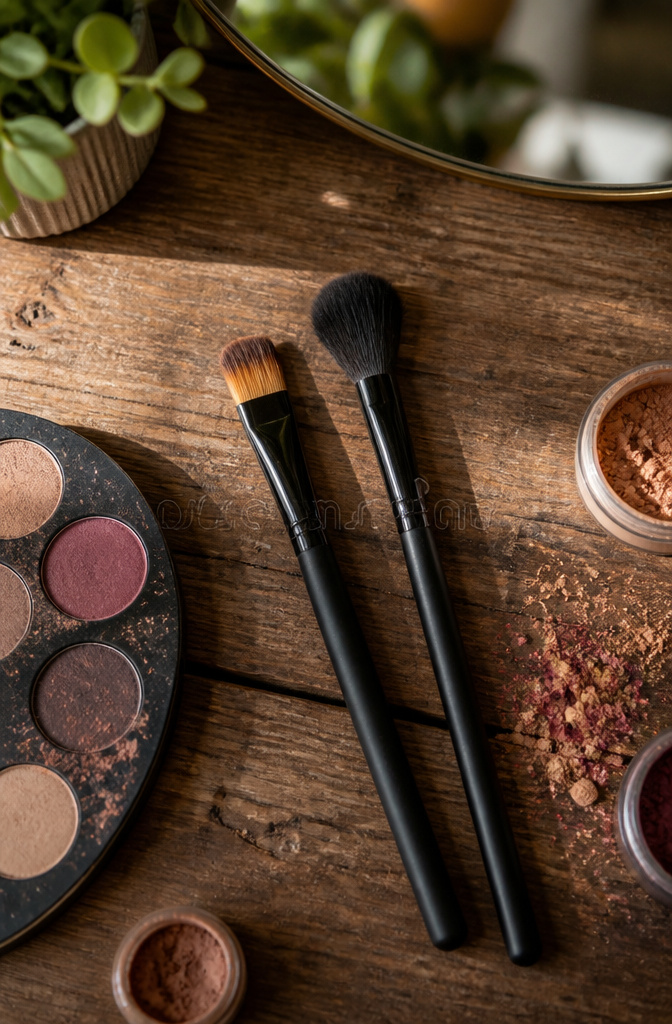
Fingers are better for cream products than any brush. The warmth from your hand melts the formula into the lid so it sets evenly, and cream eyeshadow sticks in particular blend out with almost no effort. A flat brush still earns its keep for packing color onto the lid, especially with powder formulas where you want the pigment dense and exactly where you placed it. The fluffy blending brush is the one step where I reach for a tool every time; a clean fluffy brush swept through the crease fixes harsh lines faster than fingers ever could. What you can skip: the brow bone highlight brush, the tiny smudger, the angled liner brush. Those are precision tools for detailed looks, and detailed is not the goal here. One flat brush and one fluffy blending brush are enough to own if you are building a kit for speed.
Mistakes I Made When I Started
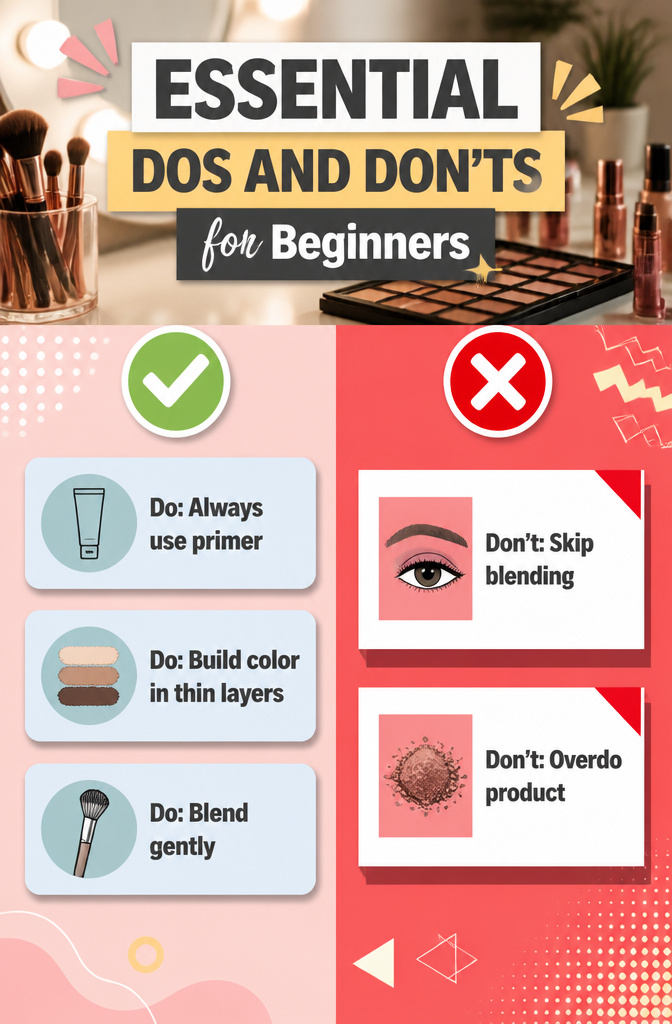
Skipping eyeshadow primer was the first error that cost me an actual workday. The shadow looked fine at 8 a.m., but by noon it had settled into every fine line and faded to a dull, uneven wash. Primer is the step that buys you the hours, and without it, even a simple single-color look creases within a few hours.
A heavy hand with product was the next mistake, and the result was immediate fallout under my eyes and patchy lids that refused to blend. Building color in thin layers works faster in the end, because you are not stopping to clean up the mess.
Not blending enough left harsh lines that looked unfinished no matter how pretty the shade. Beginners often sweep shadow too high above the crease, thinking more lid equals more impact, but it just breaks the proportions of the eye. Spending one extra minute with a clean brush to soften the transition matters more than the color you chose.
Over-blending has its own risk: muddy, indistinguishable tones where the lid, crease, and brow all melt into one murky band. The fix is knowing when to stop, usually right after the edges look soft, not after every color has become the same color.