A makeup look that flatters your face starts with measuring three widths: forehead, cheekbone, and jawline. The ratios between them place you in one of six face shapes, each with its own placement rules for blush, bronzer, and contour. I traced my own mismatched tutorials back to skipping that step entirely; my heart-shaped face needed color on the apples of the cheeks, not where the diagrams suggested.
What Your Face Shape Means for Your Makeup
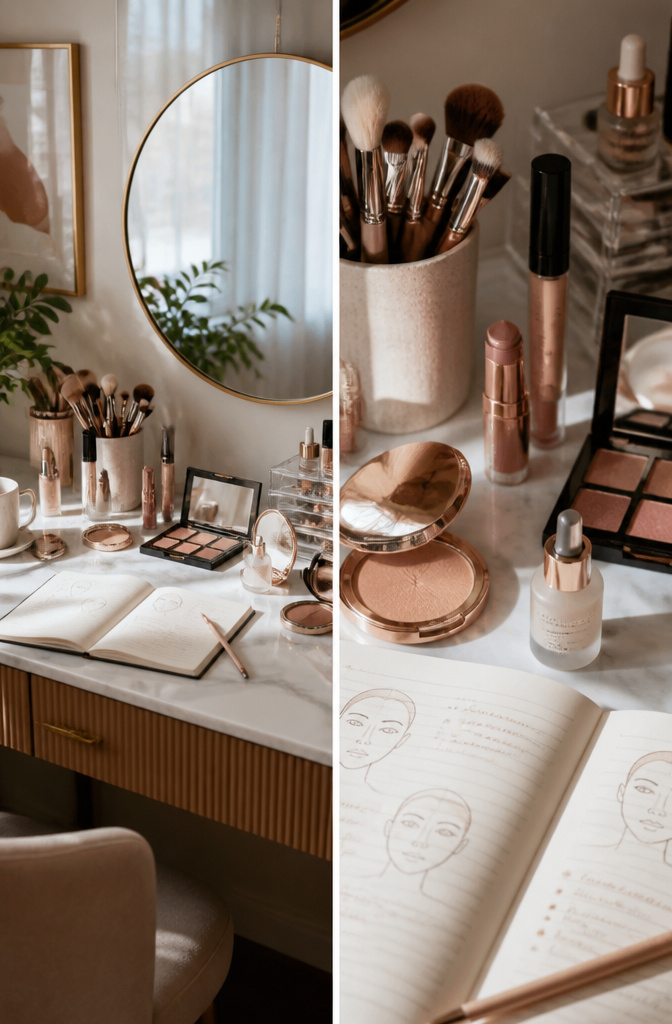
The products that looked flawless in a tutorial can sit on your bathroom counter for weeks, barely touched, because something about the finish reads off on your own face. I finally traced that mismatch back to a step I had been skipping entirely: matching the technique to my face shape.
Three measurements sort face shape into the six categories the guides actually use. Forehead width is the distance from hairline to hairline at its widest point. Cheekbone width runs across the face from the hairline above each cheekbone to the same spot on the opposite side. Jawline width goes from the base of the jaw beneath the ear to the center of the chin, then multiplied by two to account for both sides. The sources add face length, from the center of the hairline to the chin tip, though that fourth figure matters less in practice than the first three.
What matters is how those three widths relate. An oval face, for instance, shows length about one and a half times the width, with prominent cheekbones and a gently rounded chin; the jawline sits slightly narrower than the forehead. Round, square, heart-shaped, oblong, and diamond each have their own ratio signatures. Knowing which pattern yours follows turns broad advice, like "contour the hollows," into a specific map of where your hollows actually are.
Heart-Shaped Face: Blush and Bronzer on the Cheekbones

Heart-shaped faces carry their width in the cheekbones and forehead, with a jawline that tapers to a softer point. That structure gives you one of the most useful natural contours to work with, but only if you place blush where the face actually bulges when it smiles.
Apply a matte blush on the apples of the cheek, blending towards your ear/hairline. The instruction sounds straightforward until you try it and realize the "apples" are not where you expected. Mine sit lower and slightly closer to the nose than the diagrams suggest, so following the classic diagram left a streak of color floating above where my face rounded. A mirror held at arm’s length while you hold a natural smile shows the true spot; the puff of muscle lifts the skin to a different place than faking a grin pushes it.
Bronzer belongs beneath the cheekbone, not on it, and a touch under the chin softens the taper. For eyes, soft lines keep the upper face from looking more dramatic than it already is; a subtle liner and diffused shadow balance the strong bone structure rather than competing with it. Rounded brows repeat that softening effect. A brighter lip draws some attention downward, which evens the proportion between the wide upper face and the narrow jaw.
Round Face: Bronzer in a Three Shape
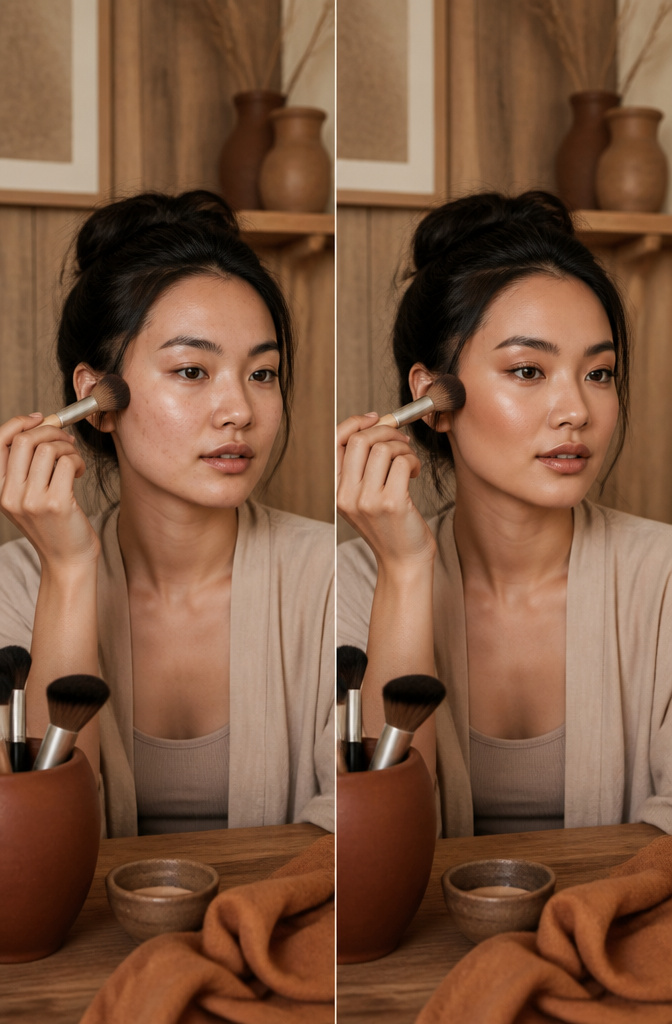
A round face carries its width right through the cheekbones, with the forehead and jawline rounding off at nearly the same measurement. That evenness reads as friendly, but it can also read flat in photographs where everyone else seems to have cheekbones that catch the light.
The fix is bronzer in a three shape: start at the outer forehead, sweep down under the cheekbones, then continue along the jawline, stopping before you reach the chin. Apply bronzer around the entire outer perimeter of your face and beneath the cheekbones to build shadow where the bone itself would create it. The number three, traced on each side, keeps the placement consistent so you are not guessing where the hollow belongs.
I over-bronzed the center of my face early on, thinking depth anywhere would read as structure. It just read as dirt. Keep the middle clean: a highlighter on the high points of the cheeks, a touch on the Cupid’s bow and chin, and let the contrast do the elongating.
High, arched brows add vertical lift that a round face usually lacks. For the eyes, go dramatic: a smoky eye pulls focus upward and creates a center of gravity higher on the face. Blush belongs on the apples, blended back toward the ear, but keep it higher than your natural cheekbone line so it does not reinforce the width you are working to offset.
Square Face: Softening Angles With Contour
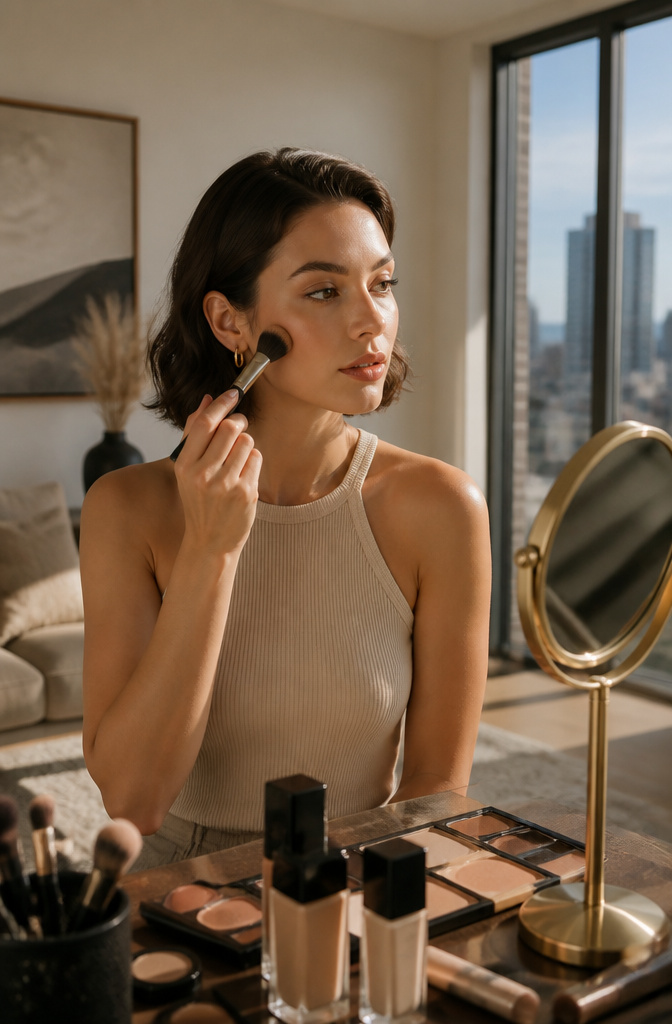
A square face reads as strong, but the same angles can photograph harsh when the light catches them wrong. The goal is rounding those corners without erasing the architecture.
Bronzer belongs on the jawline from ear to almost-chin, and on the temples, both blended toward the center of the forehead. The real shift happens at the cheeks: use a fluffy brush to sweep a light layer of bronzer upwards over the hollows of your cheekbones. Upward is the direction that matters; a downward stroke only drags the face lower and emphasizes the very boxiness you’re trying to quiet. I learned that the hard way after months of sideways-sweeping and wondering why my face still looked drawn in straight lines.
A rosy cream blush on the apples, worked toward the temples, keeps the softening in motion. Highlighter at the high points of the cheeks and up toward the temples finishes the balance, drawing the eye to center rather than perimeter.
Oval Face: Minimal Contouring
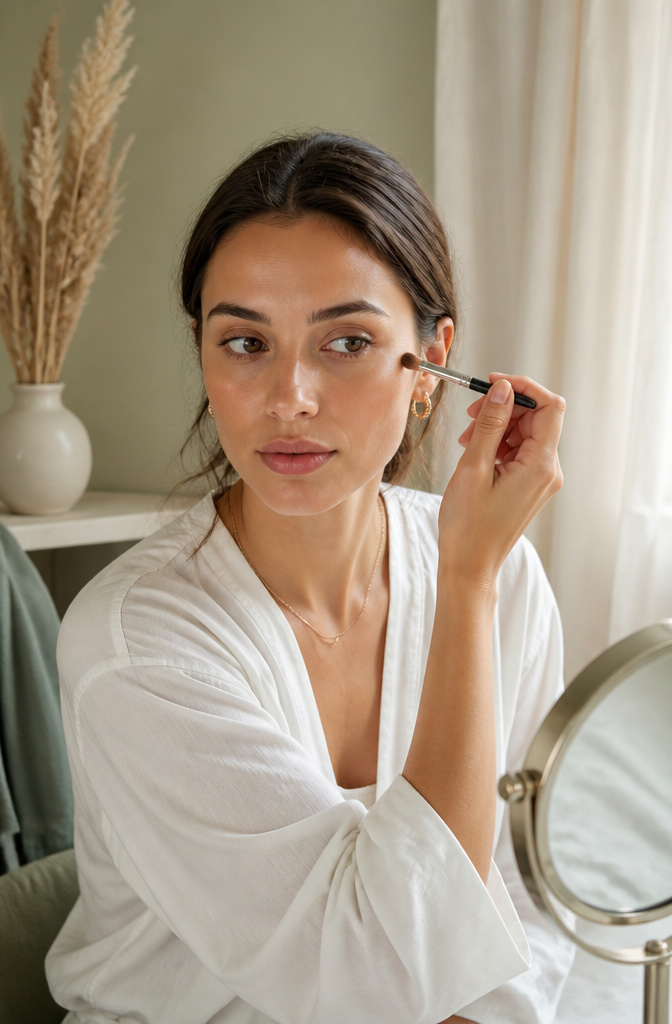
An oval face carries balanced proportions that make most makeup trends forgiving. But that ease can become a trap. I spent years layering contour sticks and bronzing powders, following tutorials meant to sculpt angles I simply do not have, before realizing the shape itself was doing the work.
Minimal contouring is usually all you need to enhance your natural features. The product load dropped sharply once I let the structure of the face carry the look.
For "minimal" in practice, one step matters: locate the hollow beneath the cheekbone by drawing the cheeks inward, then sweep contour in a gentle curve from the ear toward the middle of the cheek. Blend with a fluffy brush or damp sponge so the shadow stays plausible. A light pass under the jawline, blended into the neck, finishes it. No second contour shade, no forehead carving, no nose reshaping. The whole routine takes under two minutes and uses one product.
Highlighting does the actual lifting here. Cheekbones, the bridge of the nose, maybe a touch on the forehead. The result reads as rested rather than reworked. For everyday purposes, I skip the contour step entirely and stay with highlighter on those high points. The face still photographs the same shape, and I save the extra product for evenings when I want definition.
A smaller highlight brush keeps the placement precise. Oversized tools deposit shimmer where matte skin should stay, and on this face shape that stray glow is what reads as overdone.
Oblong Face: Widening With Blush Placement
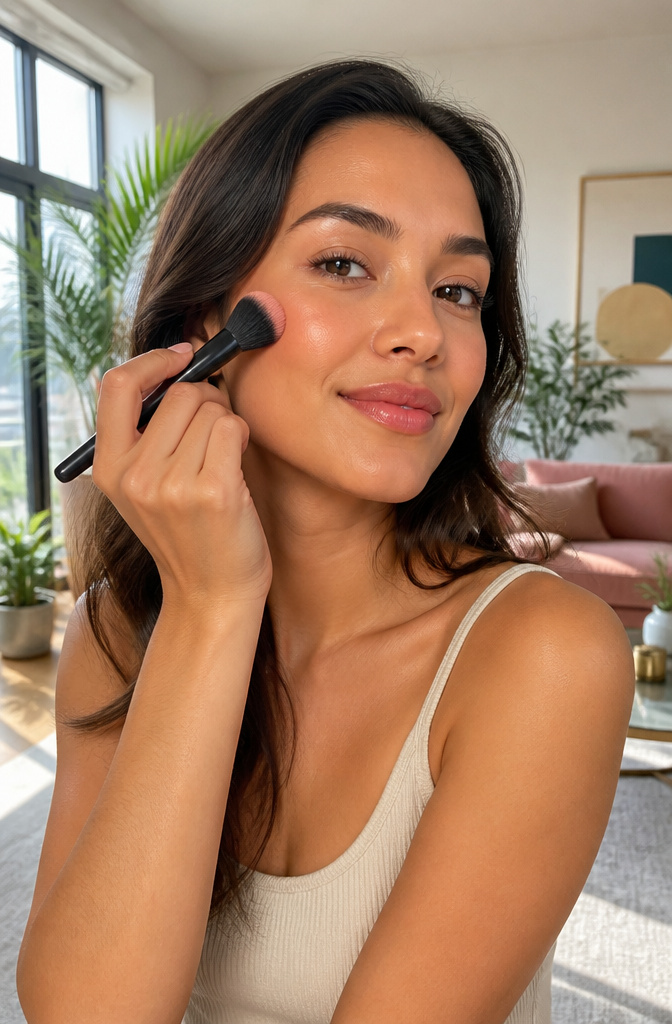
Oblong faces need width more than length, and blush placement is where that happens. The sources split on exactly where to put it: one says the apples of the cheeks, another says the tops. Those are not the same spot, and learning the difference changed how I think about this shape.
The apples are the fleshy parts that lift when you smile. The tops of the cheeks sit slightly higher, closer to the outer eye and the temple line. For an oblong face, focus on the tops of your cheeks to widen and add a rosy tone; this draws the eye horizontally instead of vertically. Blend back toward the temples, not down toward the mouth, or you end up dragging the face longer instead of broader.
Contour works the other direction. Sweep a shade one to two tones darker than your base across the forehead, temples, under the cheekbones, and along the chin to visually shorten length. Skip highlighter on the forehead and chin entirely; the glow there exaggerates what you are trying to minimize. A muted pink like Nars Dolce Vita reads as color without screaming for attention, which keeps the overall balance calm.
Diamond Face: Two Foundation Shades for Balance
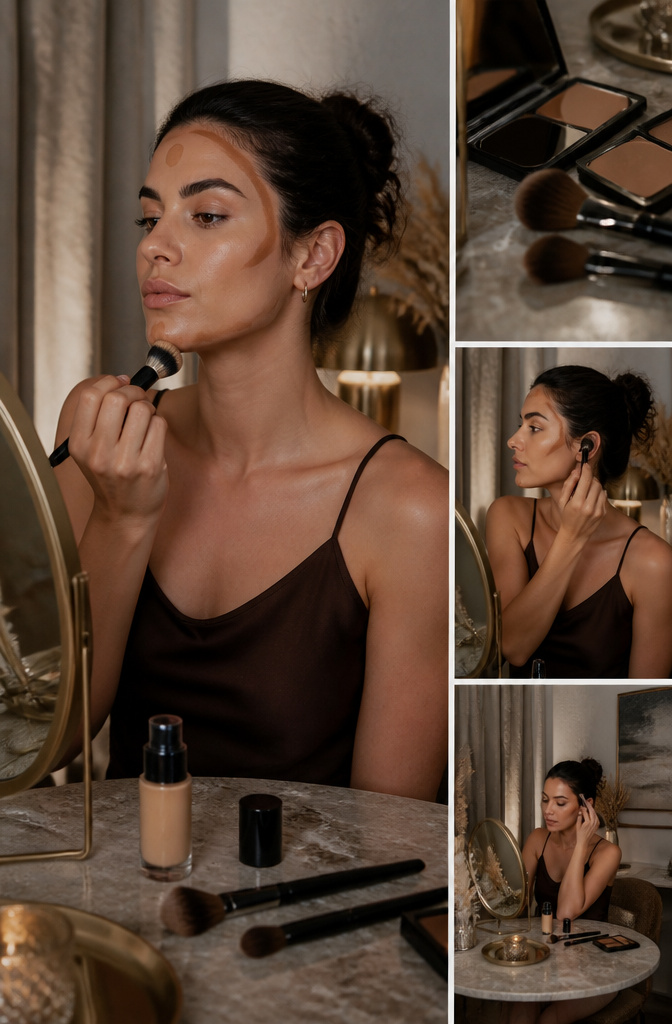
Diamond faces read narrow at the forehead and chin with the cheeks as the widest point, which can feel off-balance in photos and in person. Two foundation shades fix this, but the real work is in the blend.
Start with a darker shade, no more than two tones below your skin color, and place it at the tip of the chin. This softens the point and tricks the eye into seeing a wider jaw. Carry that same darker shade up near the temples and blend it toward the hairline so the forehead does not look pinched. The lighter shade goes along the jawline itself, and here is where most people fail: they stop blending too soon. You need to work the edge until you cannot detect where one foundation ends and the other begins. I have watched tutorials where the line sits visible for hours; in daylight it reads as dirt, not bone structure.
Highlighter belongs on the high points of your cheekbones, since diamonds already have great bone structure and this plays it up rather than fighting the face’s natural geometry. Skip shimmer blush; matte color on the apples of the cheeks keeps the attention horizontal where you want width, not vertical where you do not.
What Features You Want to Highlight

A few years back, my makeup drawer was basically a graveyard of trends I’d bought into and abandoned: the neon liner that made me look like I had pink eye, the overlined lips that felt like costume makeup by noon. What shifted things was asking what I actually liked seeing on myself, not what was winning on TikTok that week.
Skin that looks like skin became the goal. I stopped treating every pore or patch of redness as a problem to erase. Some texture showing through actually reads as real in person, not failed coverage. The sources that stuck with me all landed on this same point: glowy, warm, blended, with just a hint of color rather than full pigment. I blend the edges of my lipstick now, same as my blush. It looks like me after coffee, not me after a makeover montage.
Your face shape might steer where you place contour or blush, but the feature you choose to emphasize is personal. Some mornings I want my cheekbones to read; other days I play up my eyes with soft shadow and let everything else sit quiet. The weather outside sometimes decides for me, or my mood does. What stays constant is that the makeup has to feel like something I’d wear to the grocery store and still recognize myself in the mirror.
Techniques That Suit Your Skin Type
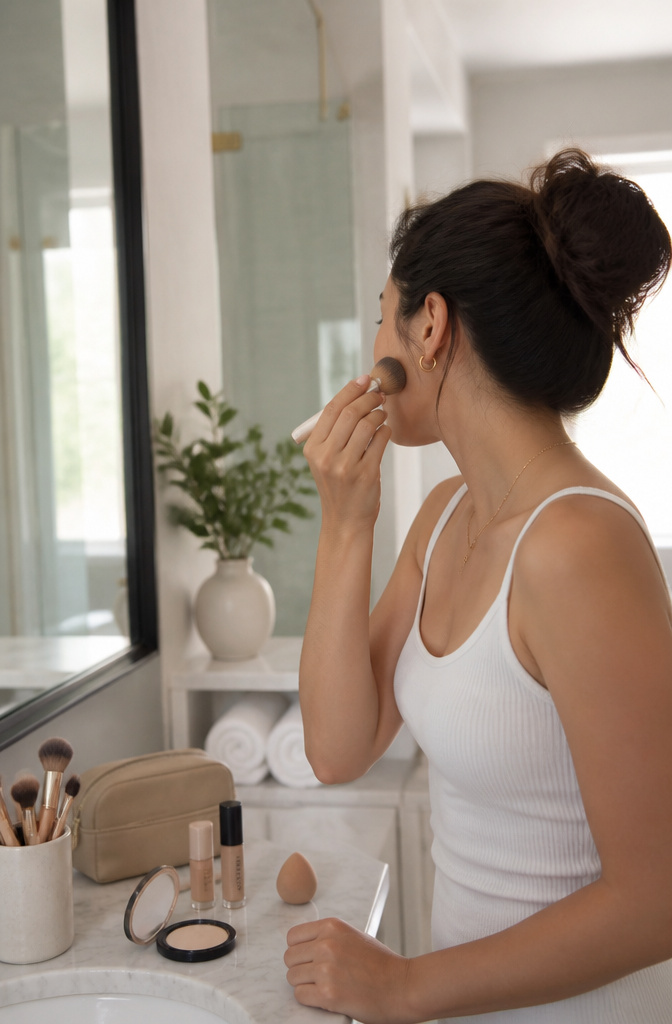
Foundation matching starts at the jawline or chest, not the wrist where most of us swatch instinctively. The skin there sees less sun and fewer products, so it gives a truer read of what will disappear into your face in daylight. I ignored this for years and spent my twenties in shades that looked right in the Sephora mirror but floated like a mask by noon.
Your skin type changes the method even when the face shape stays fixed. Matte formulas used to be my default; they photographed cleanly and held up through long days. Somewhere in my mid-thirties my skin shifted, and the same products that had looked polished started reading chalky and settling into lines I had not noticed before. Dewy finishes, applied with a damp sponge rather than a brush, now do the work that matte once did, and the difference is in the hydration rather than the shade itself.
The undertone matters as much as the depth. Test in natural light, wait thirty seconds for the product to settle, then check the edge where foundation meets bare skin. If you see a line, keep looking. The right match has no border at all.
Eye Shape and Eye Makeup
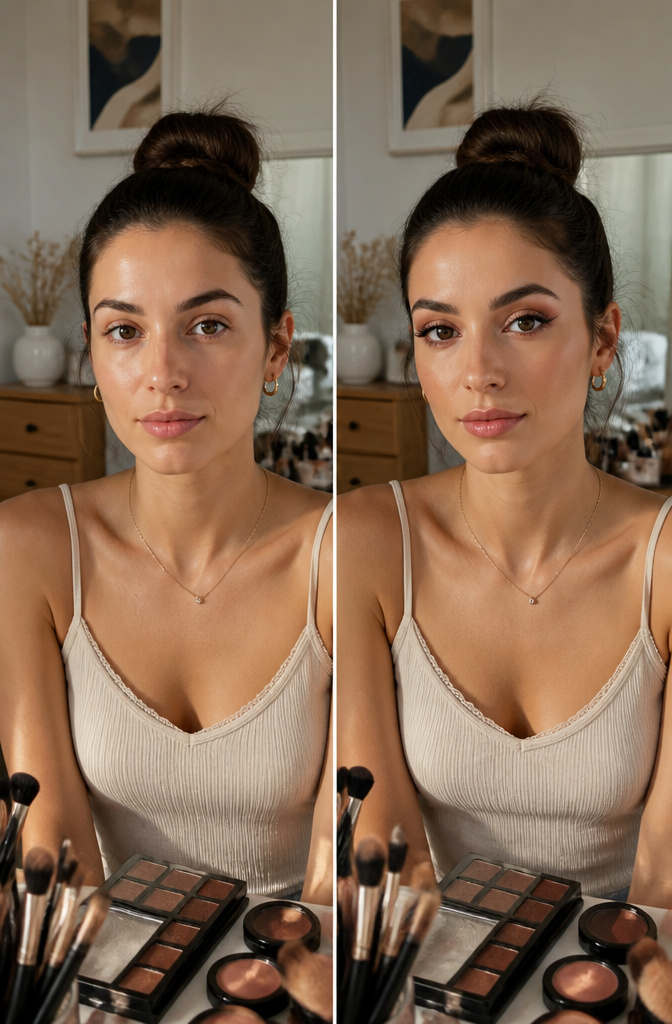
Almond eyes carry winged liner well because the shape already angles outward. Round eyes need darker shadow pressed onto the outer third to pull the silhouette back, and downturned eyes call for a flick that rises at the end rather than following the natural line down. Upturned eyes balance best with shadow along the lower outer corner so the lift does not read as lopsided.
Eye shape does not replace face shape; it sits inside it. A heart-shaped face with wide, round eyes still wants that outer-corner darkness, but placed slightly higher to keep the visual weight up near the cheekbones, not drifting toward the jaw.
I spent years assuming "dramatic eye makeup" meant pigment and lots of it. Hooded lids fold over the mobile lid, so any color above the crease disappears when the eyes open. The drama that actually shows up is structure: a thin, crisp line at the lash line, shadow blended specifically into the socket space that remains visible, and patience with matte formulas that do not migrate. What I thought was bold was mostly invisible; what reads as effort from five feet away is placement, not volume.
Frequently Asked Questions
What makeup style suits my face?
The best makeup style depends on your face shape, which you can figure out from three measurements: forehead width, cheekbone width, and jawline width. Each of the six common shapes, oval, round, square, heart-shaped, oblong, and diamond, responds to different placement of blush, bronzer, and contour. Match the technique to your specific structure rather than copying a trend that was designed for a different bone pattern.
How do I choose the right foundation for my skin tone?
Test shades on your jawline or chest, not your wrist, because those areas see less sun and product buildup and give a truer match in daylight. Wait thirty seconds after swatching for the product to settle, then check the edge where foundation meets bare skin; the right shade has no visible border. Consider your skin type too, since matte formulas that photographed cleanly in your twenties may read chalky later if your skin shifts toward dryness.
What eye makeup suits different eye shapes?
Almond eyes carry winged liner well because the shape already angles outward, while round eyes need darker shadow pressed onto the outer third to pull the silhouette back. Downturned eyes call for a flick that rises at the end rather than following the natural line down, and upturned eyes balance best with shadow along the lower outer corner. Eye shape works inside face shape, not instead of it, so adjust placement slightly higher or lower to keep visual weight where your bone structure needs it.