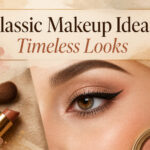
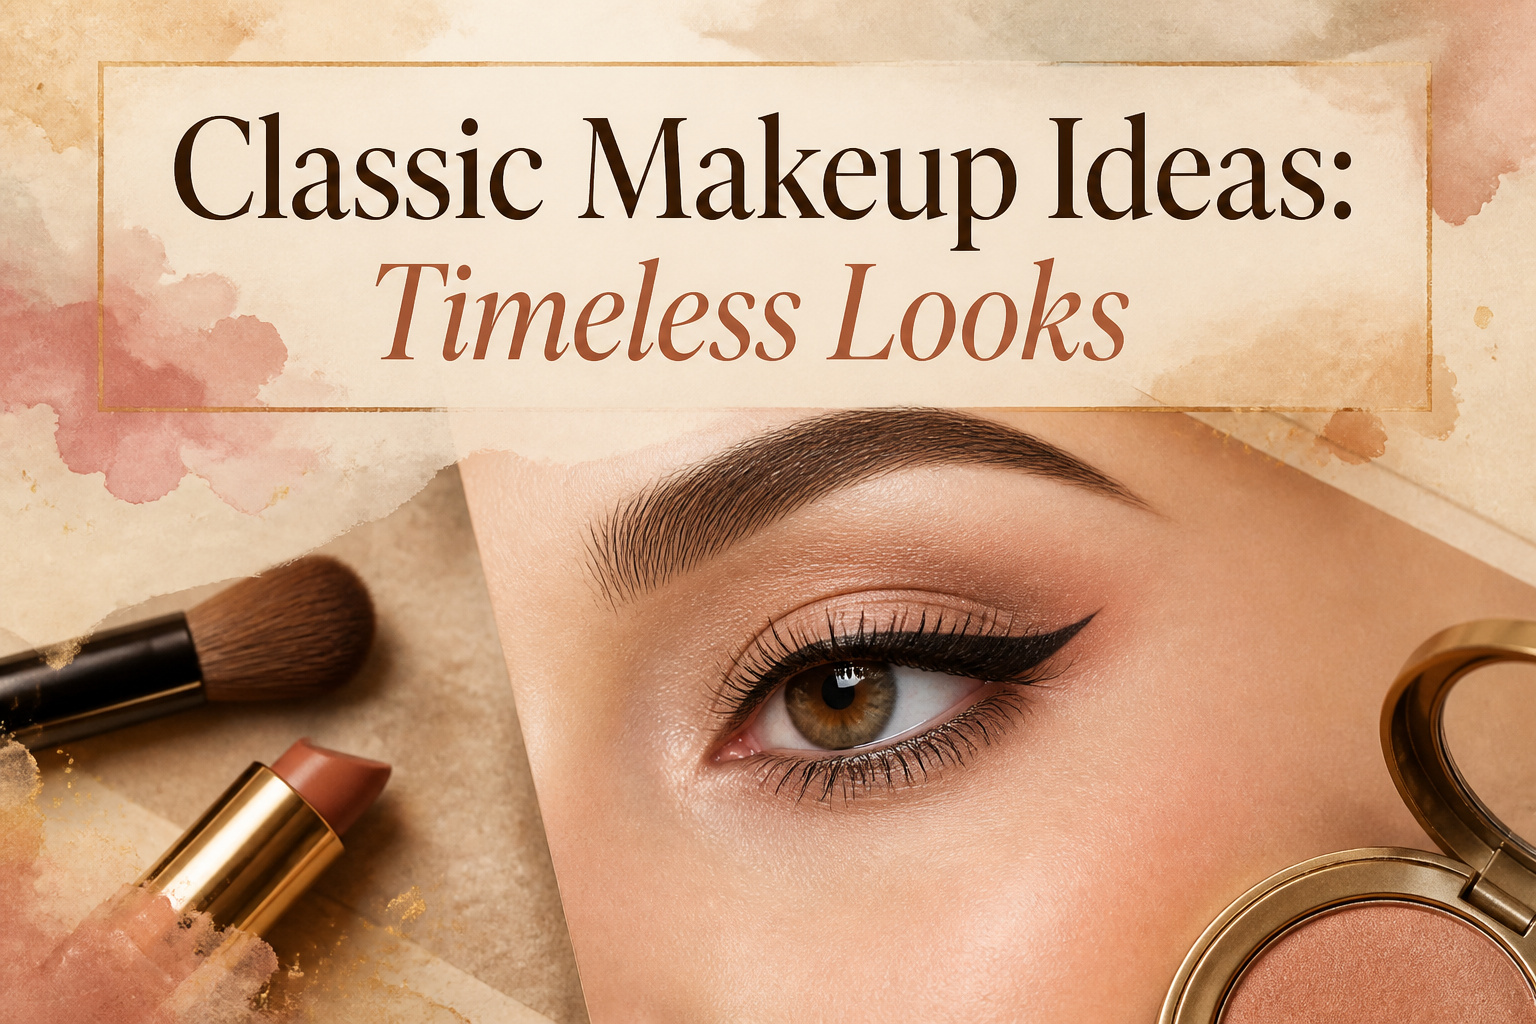
Classic makeup ideas are the looks that survive decades because the geometry flatters bone structure rather than fighting it. The catch is that each one has a technical condition that trips people up: the cat-eye wing must follow your lower lash line’s natural angle, not your eyebrow’s curve, or you end up looking permanently surprised. Brigitte Bardot’s sixties liner still works today, but only if the pressure lightens at the inner corner and weights slightly at the wing so it never reads costume.
The Cat Eye
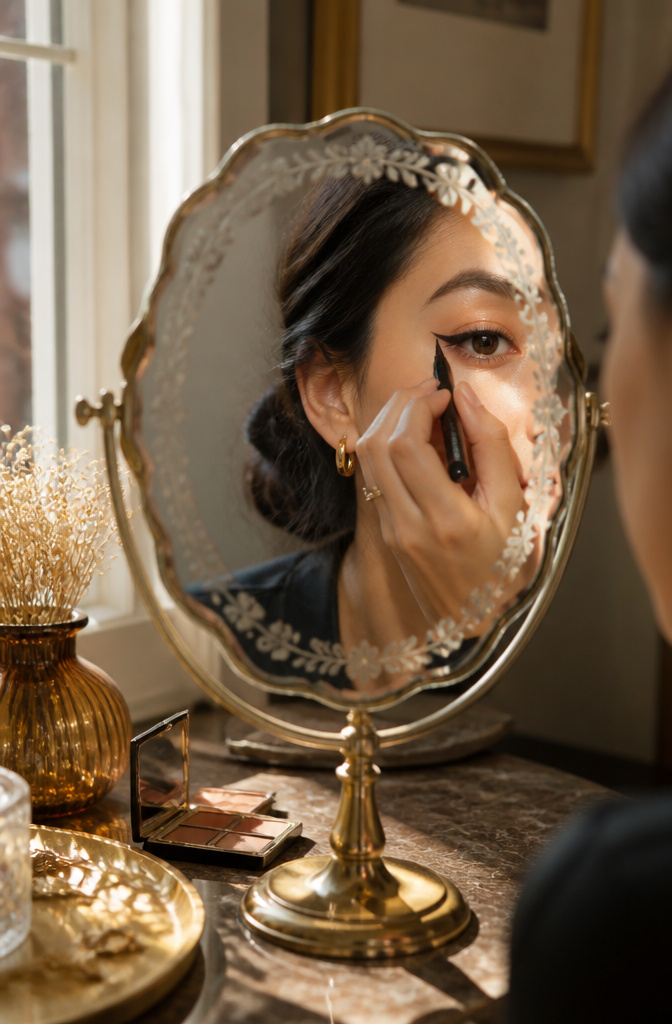
The cat eye is one of those looks that reads as effort without requiring much of it once the motion is in your hand. The wing should follow the natural upward angle of your lower lash line, not the curve of your eyebrow, which is where most of us paste it the first time and end up looking permanently surprised. I start from the inner corner with short strokes, pressing the liner between lashes rather than above them, then build outward in one clean pull.
Liquid liner gives the sharpest result, the kind Brigitte Bardot wore swept across both upper and lower lines in the sixties, but gel has more forgiveness if your hand shakes. Pencil I skip entirely for wings; it smudges before you finish the second eye. What actually sits on my vanity is a black liquid with a felt tip, the sort L’Oréal makes in both standard black and a rose gold that updates the look without changing the shape. The pressure you use determines the weight of the line, so a light touch at the inner corner and slightly more at the wing keeps it from reading costume.
For hooded eyes, the wing needs to be drawn with the eye open and looking straight ahead, or it disappears into the fold. Round eyes can take a longer, straighter wing that elongates rather than lifts. The look has survived from early Egyptian kohl to Marilyn Monroe to Angelina Jolie because the geometry flatters almost everyone, but the geometry has to match your own bone structure or it fights you.
The Red Lip
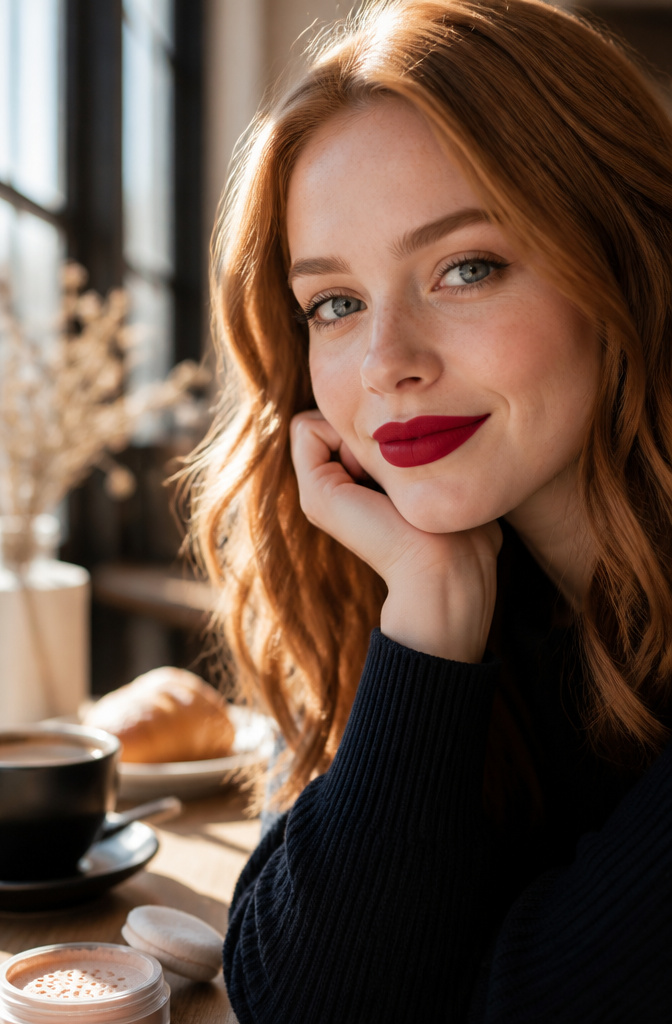
A red lip only works when the undertone matches your skin. Blue-red flatters cooler complexions; orange-red suits warmer ones, and testing this without buying takes thirty seconds in store: swipe two stripes on the inside of your wrist, step back from the mirror, and whichever disappears into your skin rather than sitting on top of it is yours.
Lip liner divides people, but the case for it is precision. A liner that matches your red exactly, or runs one shade deeper, keeps the edges clean and stops the color from feathering by noon. I draw the line right at my natural border, never beyond it; overlining throws off the proportions that make a red lip look polished rather than costumed.
For longevity, blotting matters more than the formula price. I press a tissue between my lips after the first coat, dust translucent powder through it with a fluffy brush, then add a second layer. That powder layer grips the pigment underneath without drying the surface into cracks. The finish reads soft matte, which is the texture that reads classic; shine alters how the light hits the edges and can make the mouth look larger or smaller than it is.
A classic red lipstick has never truly gone out of style, thanks to its confidence-boosting magic.
What that means in practice: the red lip is not a trend to time, but a tool to reach for when an outfit needs authority in under a minute.
The Smoky Eye
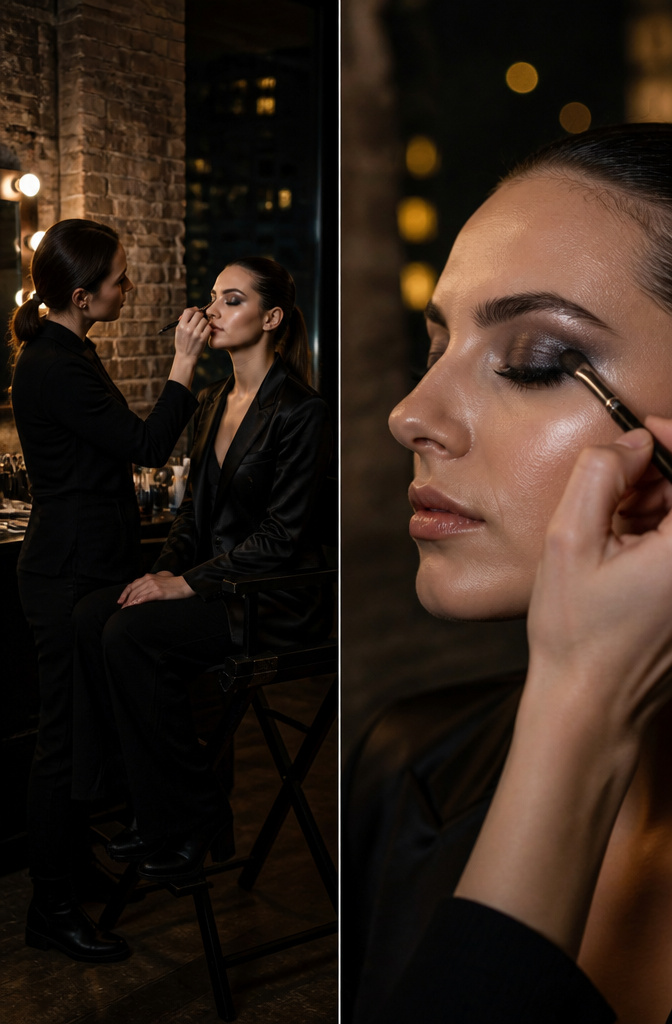
A smoky eye lives or dies on how the dark goes in. Black and brown blended upward from the lash line give that dimensional, sultry effect most people picture, but the modern version also works at the office if you swap in lighter grays and medium tones. The mistake I keep seeing, and that I’ve made myself, is loading on too much dark pigment too fast and then trying to soften it after. That backfires. The shadow cakes, the edges fight you, and you end up starting over.
The fix is building in thin, separate layers rather than one heavy application. A medium shade goes through the crease first, establishing the shape. Then a darker pencil or cream shadow tight-lines the upper lash line and gets smoked out with a small, dense brush before any powder black touches the lid. Highlighting comes last: a lighter shadow or highlighter on the brow bone and inner corners to keep the eye from closing in. For evening, the same structure intensifies with deeper black swept along the lower lash line and two coats of mascara. Daytime stays cleaner with the lighter palette and skips the lower-lid drama.
The White Tightline
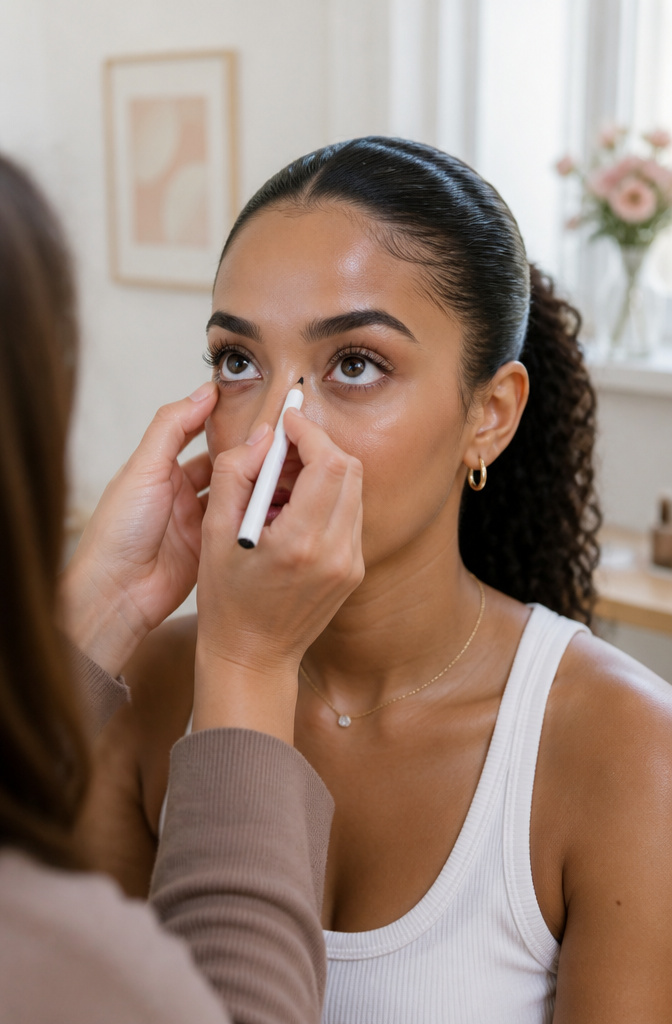
White eyeliner on the lower waterline has been a classic makeup look for decades, though most sources skip the technical distinction that makes it work. Tightlining means working the pencil between the lashes themselves, while the waterline is the wet rim inside that line. The L’Oréal Paris Infallible Paints Eyeliner in White Party, with its 0.1mm precise felt tip, is built for the latter: that smooth glide along the inner rim that catches light and makes eye color pop.
The brightening effect turns theatrical fast. I once ran the white too thick across the full lower waterline and spent the morning looking consumptive rather than rested. A thin stripe at the outer third, or just the inner corner, keeps the lift without the stage effect. The felt tip helps here: the 0.1mm point deposits color in controlled strokes rather than the waxy bloom of a traditional pencil that can migrate and collect in the tear duct by noon.
Lasting power is the real test. Liquid formulas set down and stay, while standard kohl pencils dissolve into that grey smudge that reads as exhaustion, not intention. For a timeless look that actually holds through the day, the precision tool wins.
The No-Makeup Makeup Look
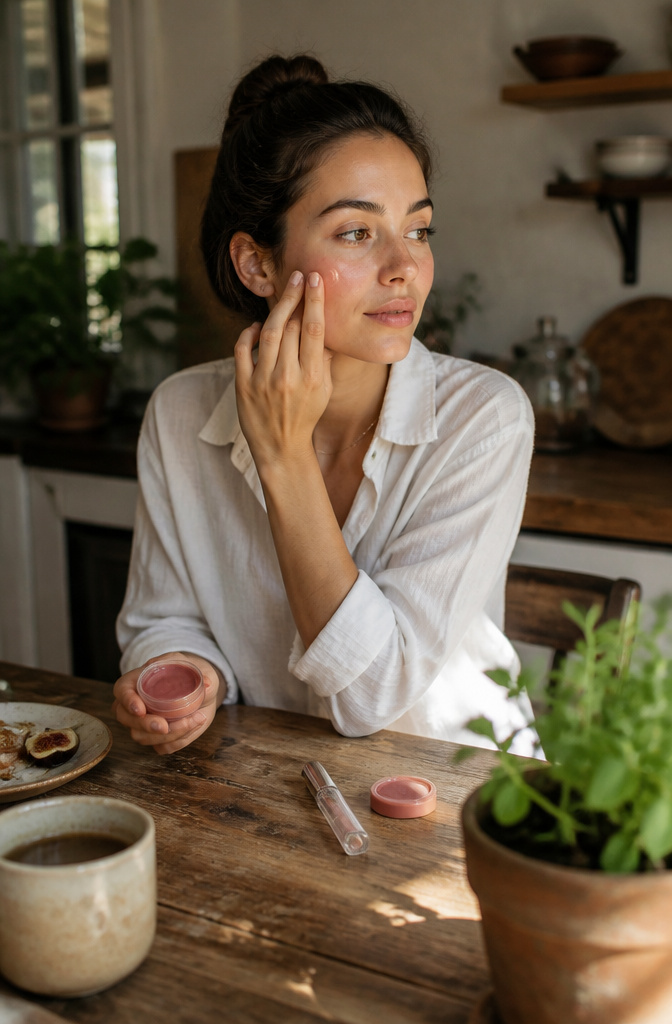
The no-makeup makeup look lives or dies hours before the first product touches your face. Skin prep is where the actual work happens: a primer matched to your needs, whether hydrating, blurring, illuminating, or mattifying, sets up the smooth canvas that makes the rest believable. Skip this step and the skin never reaches that naturally healthy-looking finish the look is built on.
What earns its place in my kit stays minimal. A rosy tone in blush, maybe a matching whisper of eyeshadow or lip color that follows my undertone rather than fighting it, keeps the complexion from reading flat. Lash and brow tinting has replaced every brow gel and pencil in my daily routine; the definition is there without the telltale product sitting on top. A glossy lip pulls the whole thing together.
The paradox is real: several somethings go on so that nothing looks like it did. I skip foundation entirely when my skin cooperates, but I never skip the primer or the tinting. For occasions, this is strictly casual territory: errands, coffee, the office that does not demand polish. Evening elegance asks for more structure than this look is willing to give.
Glowing Skin
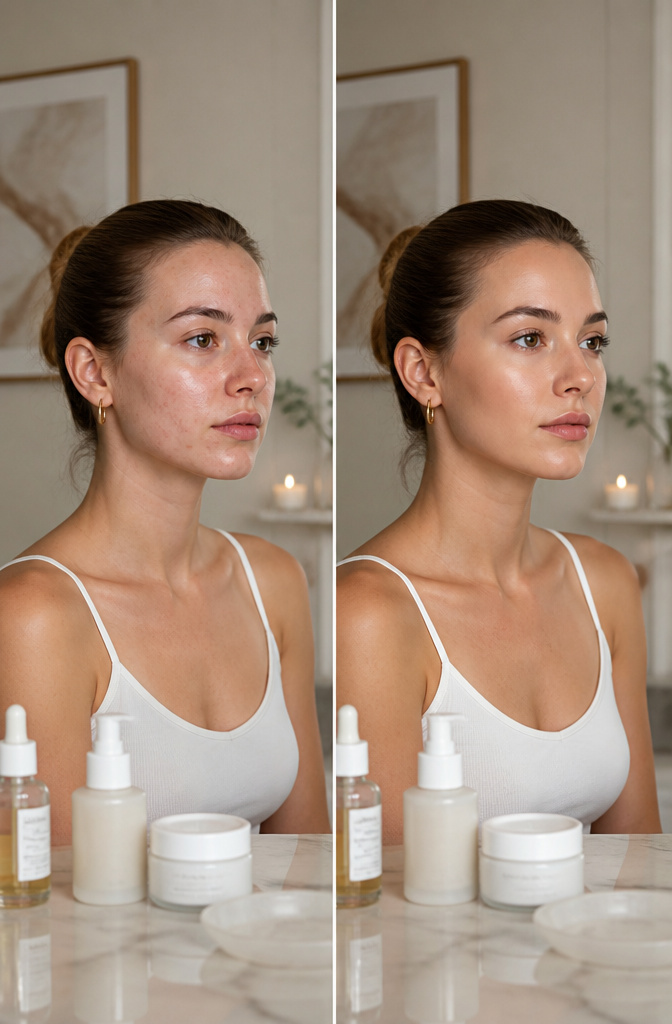
Luminous foundation only works if the skin underneath is already doing its job. Janeena, the artist behind the classic look at Glo Skin Beauty, starts every face with skincare and primer matched to the skin’s actual needs: hydrating, blurring, illuminating, or mattifying. Skip that step and the glow turns greasy by noon.
Highlighter belongs on the high points: the cheekbone, above the brow, the bridge of the nose, the cupid’s bow, and sometimes just below the lip. That is where light naturally catches. Most people sweep it too low or too wide, which flattens the face instead of lifting it.
I have combination skin, so I learned to use luminous foundation only on the dry zones and keep a mattifying primer through the T-zone. One formula all over left me shiny where I already shine and dull where I needed the light. The adjustment took two minutes and saved the look.
Oily skin types face the opposite problem. Their natural shine does half the work already, so a little powder to control the level plus a CC cream for coverage often achieves the glow without the extra product. Dry skin drinks up the luminosity and rarely fights it. The real decision is where to add glow and where to hold it back.
Natural Eye Makeup
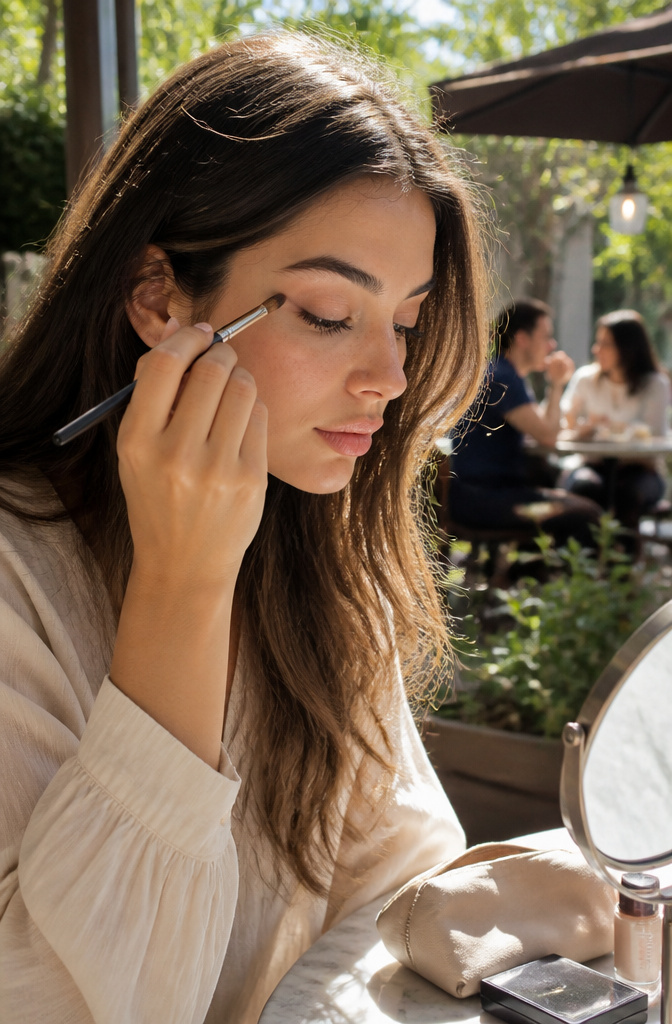
Matte textures read as skin first and shadow second, which is the whole point of a natural eye. I reach for a tight line of dark brown pressed right into the upper lash line, not winged out and not smoked upward. The difference from a cat eye is structural: no flick means the eye keeps its real shape, and the brown keeps it from registering as liner at conversational distance. Against a smoky eye, the comparison is volume. Smoke builds layers and catches light; this stays flat and close to the lid, usually two tones of beige or taupe blended until the edge disappears.
Where I actually use it is the gap between no-makeup makeup and something intentional. A job interview, a daytime wedding, any setting where I want to look finished but not like I came from a chair. The technique is specific: a small flat brush to stamp color along the lashes, a fluffier one to pull the same shade through the crease with nothing shimmered. Shimmer breaks the illusion; it catches light and announces itself. The neutral palette wins here because every shade is already something a face could produce on its own.
The Nude Lip
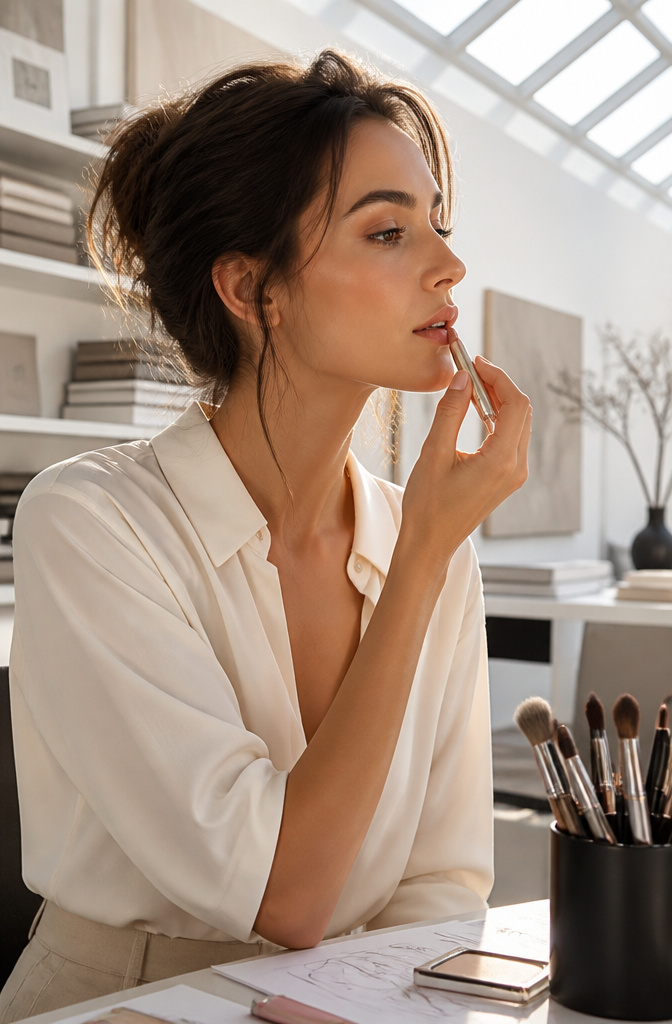
A nude lip reads as effortless only when it actually matches the face wearing it. The mismatch I keep seeing is a brown-nude pulled straight from the tube that turns chalky against cooler undertones, or a pink-nude that suddenly competes with a burgundy eye. The test that matters is daylight, not the store mirror: swipe on a stripe, step outside or at least to a window, and wait thirty seconds for the color to settle. Peach-nude warms up sallow skin but can look orange on true pink tones; brown-nude grounds a bold smoky eye but will flatten a bare face into tired. Pink-nude is the safest bridge between a strong eye and nothing else, though on very pigmented natural lips it can ring like concealer. What I have learned is that nude does not mean invisible. It means the lip stays present enough to balance the rest. Pair it with winged liner or a full matte face and the mouth should still read as a deliberate shape, not an afterthought. When the eye is the statement, the lip needs a half-step of definition, a liner or a sheer layer, so the face does not slide into featureless. That is the line between chic and washed-out.
Rosy Cheeks

A healthy flush sits at the boundary between noticed and felt, and crossing it is easier than most products admit. Cream blush wins for the skin-dew finish that reads as genuine circulation rather than pigment sitting on top, though powder endures longer on oily complexions. The real placement question is face shape: apples of the cheeks for rounder faces, higher toward the temple for longer ones, blended to nothing at the edge so there is no line where the color stops.
I learned the undertone lesson with a too-coral shade that looked sun-kissed in the pan and straight-up orange once applied. My neutral-to-pink skin turned it clownish; the color sat there announcing itself instead of suggesting a brisk walk. Peachy-nude or a true pink that matches your undertone reads as blood brought to the surface. Anything too warm or too saturated reads as fever, as costume, as effort. The Jane Birkin approach still holds: concentrate on the apples, keep it soft, let the rest of the face breathe.
Monochrome Makeup
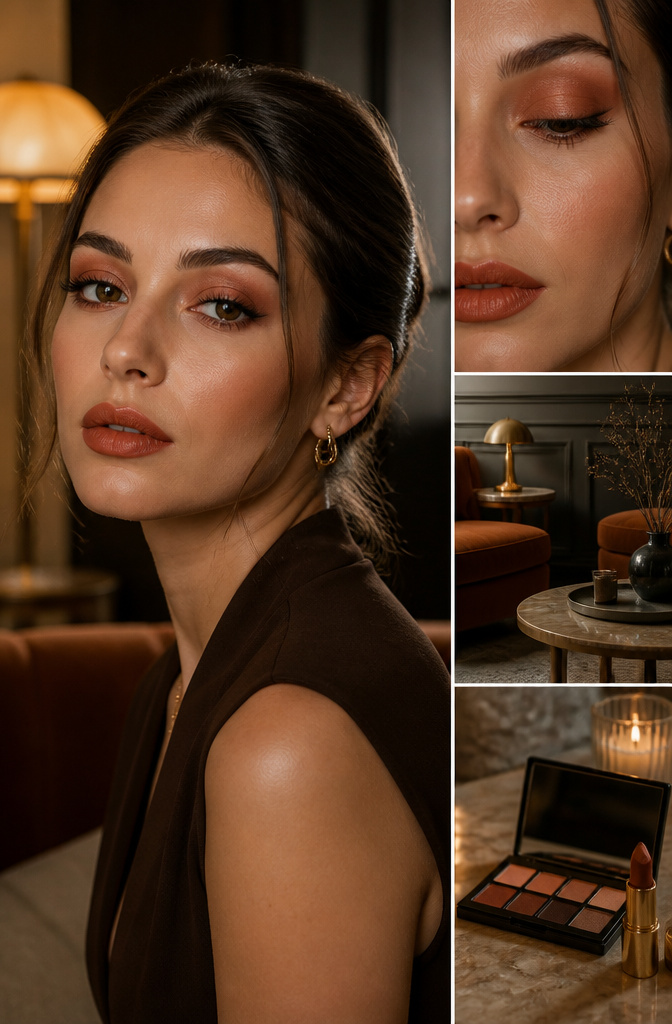
A monochrome lip and eye pairing reads modern only when the textures diverge. Matching a matte terracotta shadow to the same shade in a satin lipstick gives the face dimension without introducing a second color. The single-product approach works here: a cream pigment sheered across the lid and pressed onto the lip with a fingertip saves space in a bag and guarantees the tones never clash.
The risk is the 1980s mask effect, which happens when both features carry identical weight. One feature needs to dominate. I build the color heavier on the lips and keep the eye a wash, or reverse that for evening. A glossy lid with a matte lip looks current; two mattes flatten everything into a single plane. The difference in finish does the work of contouring that a second shade would normally provide.
Application Techniques
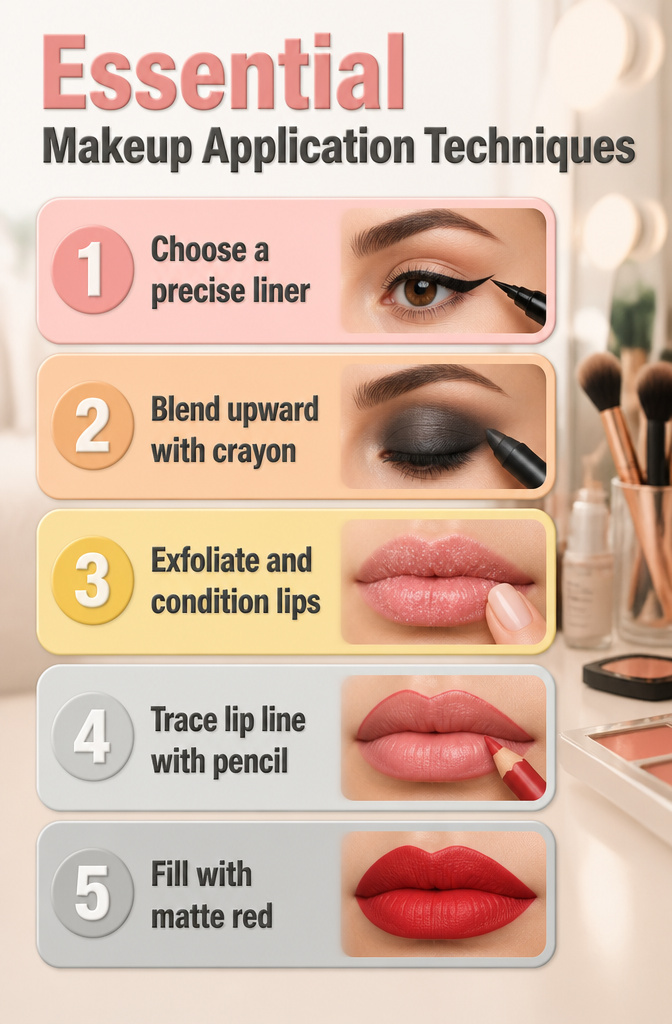
A precise wing lives or dies on the tool. The felt-tip liquid liners I bought in three-packs kept drying out mid-flick, so I finally spent the eleven dollars on a single brush-tip pen and the line weight stays consistent from inner corner to tail. For the smoky eye, the trick is blending upward from a crayon base rather than packing shadow on bare skin; the L’Oréal Infallible Eye Shadow Crayon in Midnight Charcoal gives you a movable layer that fingers or cotton can push into a gradient before you set it with powder. Layering is what makes a red lip survive dinner: exfoliate first, add a conditioning oil, then trace inside your natural lip line with a complementary pencil, fill with a matte or soft matte texture in medium red, and set with powder or spray. Skip the shiny topcoat if you want the boundary to stay crisp; the Barrier Balm goes on only if you are deliberately choosing gloss over longevity.
Color Selection for Skin Tone
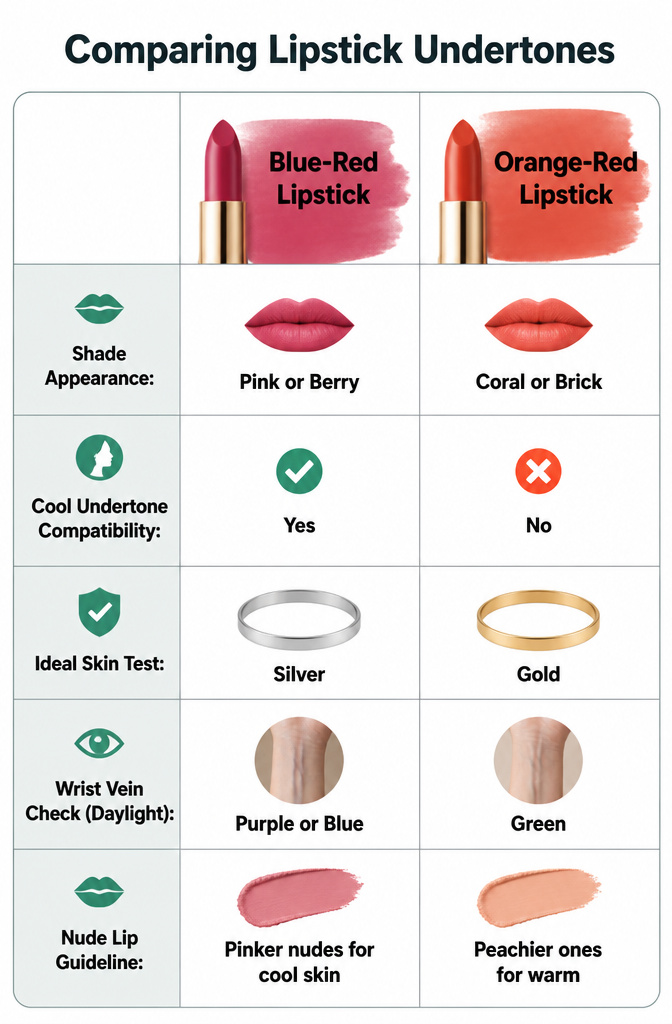
Blue-red lipsticks read pink or berry against the skin, while orange-reds pull coral or brick. The difference matters because the wrong undertone makes a classic red lip look like a costume instead of a feature. I spent two years convinced I was warm-toned because I tan easily, so I kept buying orange-based reds that turned garish within minutes. The fix was the jewelry test: holding silver and gold against clean skin in natural light. Silver looked like metal; gold looked like foil on me. Cool undertone, blue-red family, problem solved.
Highlighter works the same way. A champagne or gold cast on someone cool-toned reads as a stripe of shimmer rather than skin catching light. The passages note that liquid or cream formulas blend more seamlessly for that glowy finish, but the tone has to match first. For nude lips, the rule is to stay within two shades of your natural lip color and adjust the undertone: pinker nudes for cool skin, peachier ones for warm. The classic mistake is matching nude to skin tone instead of lip tone, which erases the mouth entirely. Look at the inside of your wrist in daylight: green veins suggest warm undertones, purple or blue suggest cool. That thirty-second check saves more money than any counter color-matching session.
Skin Preparation
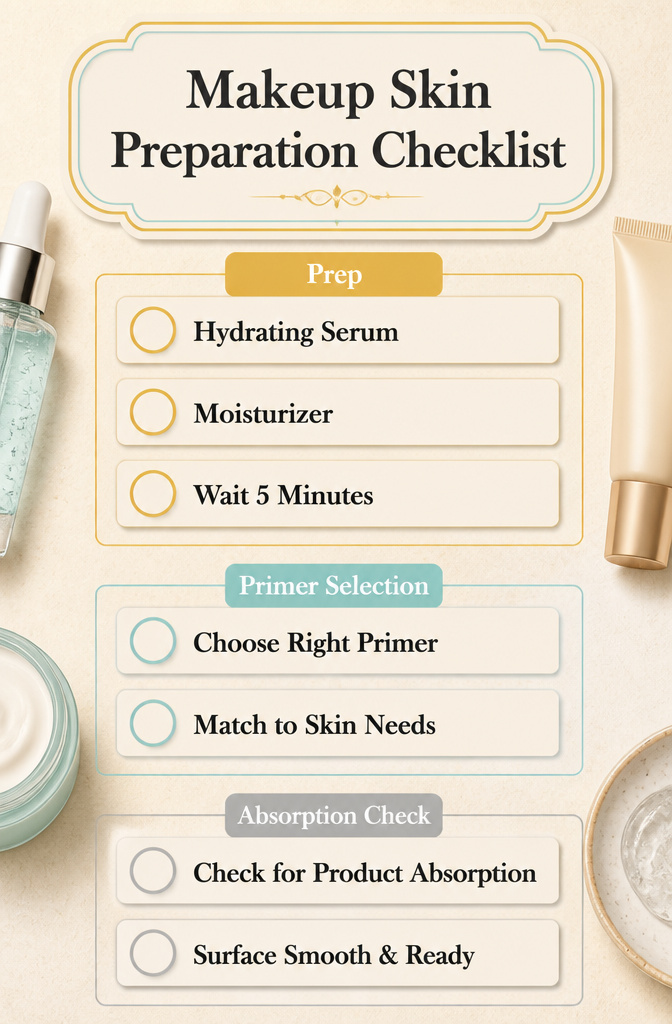
Moisturizer before foundation was the step I used to skip, and my makeup looked fine by noon but patchy by four. The change came when I started treating that two-minute wait as non-negotiable: serum, then moisturizer, then a full five minutes before primer touches skin. Anything shorter and the layers slide against each other instead of building.
Primer choice depends on what the skin actually needs that morning. A hydrating primer carries dry patches through a full day; a blurring one softens texture without adding shine; mattifying keeps oil from breaking down foundation before dinner. The mistake is reaching for the same tube year-round. In humid July, my usual illuminating primer turned my forehead reflective by two o’clock. I swapped to mattifying for those months and the wear time doubled.
Products that interfere sit in the same drawer. Anything with silicones that hasn’t fully absorbed, or a sunscreen still tacky to the touch, will repel foundation rather than grip it. The test is simple: if the skin feels cool or wet, wait longer. The classic looks this article covers all share one requirement, a surface smooth enough that pigment lands where you place it and stays there.
Balancing Features
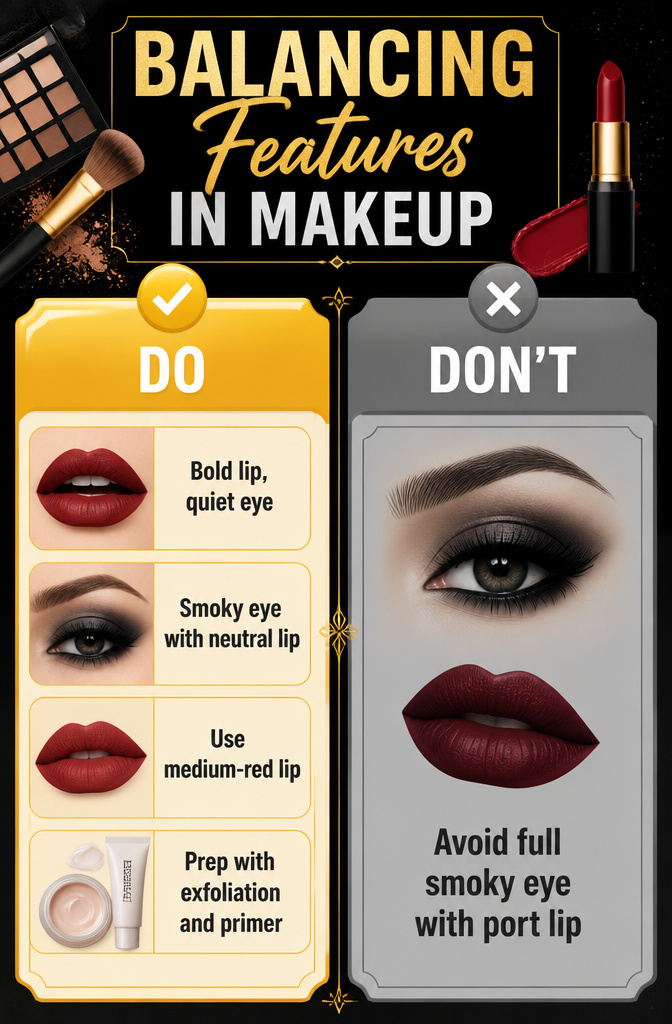
The classic rule still holds: bold lip, quiet eye, or the reverse. A smoky eye with a neutral lip keeps the face from looking overworked, and a crimson or port lip with medium neutrals on the eyes reads as polished rather than dramatic. Where this gets interesting is the light-dark contrast. Very dark eyes paired with very pale lips, or vice versa, pushes the look toward theatrical rather than timeless.
I break this when the occasion calls for it. A medium red lip with medium neutral eyes, both in the same tonal family, works for daytime events where I want presence without performance. The ten looks I keep in rotation split along this line. The no-makeup makeup look with its glossy lip and understated eye sits at one pole. The burgundy statement lip with bare skin and a single coat of mascara sits at the other. What I never pair: a full smoky eye with a deep port lip. The contrast fights itself, and neither feature gets to lead.
Prep matters as much as the pairing. Exfoliating first, then conditioning with oil or balm, keeps bold color from catching on dry skin. A primer underneath helps the pigment grip if I need it to last through evening. For neutral days, a liner in a natural shade and a matte or glazed crayon does the job without the full routine.
Frequently Asked Questions
What are classic makeup looks?
Classic makeup looks are styles that have stayed relevant across decades because their geometry flatters most face shapes. The cat eye, red lip, smoky eye, white tightline, no-makeup makeup, glowing skin, natural eye, nude lip, rosy cheeks, and monochrome looks all qualify. Each one has survived shifting trends by relying on structure and color theory rather than seasonal color palettes.
How do you achieve a classic cat eye?
Draw the wing following the natural upward angle of your lower lash line, not the curve of your eyebrow. Start from the inner corner with short strokes pressed between lashes, then build outward in one clean pull. Liquid liner gives the sharpest result, while gel offers more forgiveness if your hand shakes.
What is the best way to apply a smoky eye?
Build in thin, separate layers rather than one heavy application. Sweep a medium shade through the crease first, then tight-line the upper lash line with a darker pencil or cream shadow and smoke it out before adding any black powder to the lid. Highlight the brow bone and inner corners last to keep the eye from closing in.
How can I make my skin glow?
Prep with skincare and primer matched to your actual skin needs, whether hydrating, blurring, illuminating, or mattifying. Apply luminous foundation only where you need it, and place highlighter strictly on the high points: cheekbones, above the brow, bridge of the nose, and cupid’s bow. Most people sweep it too low or too wide, which flattens the face instead of lifting it.
What is the no-makeup makeup look?
It is a style where several products go on so that nothing looks like it did. Skin prep is the actual work: primer matched to your needs, then minimal color in rosy tones that follow your undertone. Lash and brow tinting replaces gels and pencils for definition without visible product, and a glossy lip pulls everything together. Skip this look for evening; it does not deliver enough structure for formal occasions.